Garrett AT PRO – tips and first steps
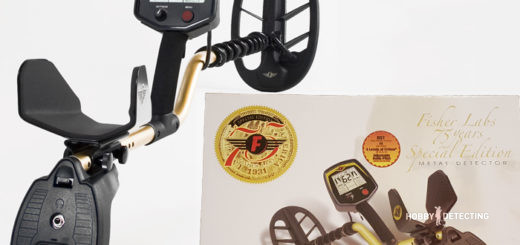
You’ve got a Garrett AT PRO and don’t know how to use it? Or you are looking for advice? So you are in a right place – this post will help you to make your first steps with this amazing semi-professional metal detector.
Well, how should i start.
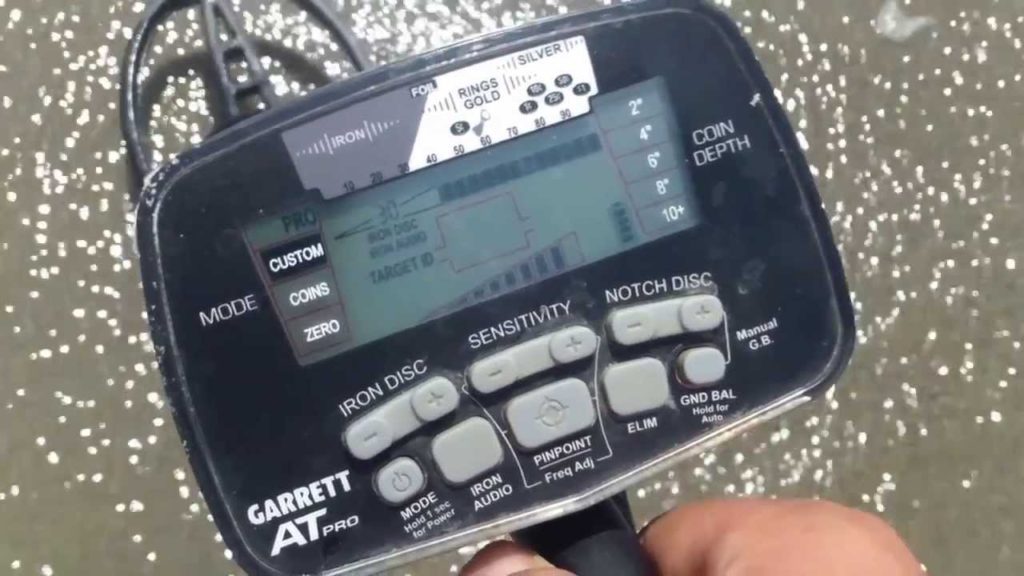
With the Garrett AT PRO I always have the iron disc at 31 (if it is a trashy site I maybe raise it a little). I almost never have it on full sensitivity because then it makes too much false signals. When you first get the detector I recommend detecting in STD mode a couple of times and not switch directly to PRO mode, so you can learn to know the detector and its signals. In places with few signals I often have it in zero mode. Even though I recommend starting up in STD modes, it is way better to search in PRO modes because you will dig much less trash.
And a little about the pinpointer: NEVER buy a very cheap pinpointer, it is a waste of money and it is better to just save your money for a good one. The same goes for digging tool. Instead of buying many cheap digging tools that break after 2-3 trips, buy a good one at the start. And a little more about the AT PRO. Be careful with the lock screws at the adjustable rod, they are easy to lose. And when you dig and pinpoint a signal, don’t dig right where the signal is, dig 5- 10 centimeters around it so you avoid hitting the item with your shovel. And don’t scrub finds too much at once when you find them. Be careful and wait until you get home so you can wash them carefully. Signals that jump a lot between different numbers are most likely trash.
Advises by Tim Johansen, Norway.
More info about Garrett AT PRO you will find here and all posts about AT PRO is located here.

