The Depth Detector Golden Mask Deep Hunter PRO 3 – Our Review! (Digging War Relics+)
I have never before dug with a deep metal detector, and I have not seen any friends/fellow detectorists doing it either. Therefore, I had little knowledge on this subject, and even then – all purely theoretical. The choice was short-lived, in principle, because I wanted to take a new model that would be also interesting to review and to look at the latest achievements of engineering is also interesting. So after rereading through forums and understanding what is right, we settled on a new model from the company Golden Mask – the Deep Hunter PRO 3. Fortunately, in September 2017, I saw the demonstration of this detector and played a little with the prototype. I saw it in action and was amazed at the simplicity and ease of the detector. So, here is our review!
Metal detector design
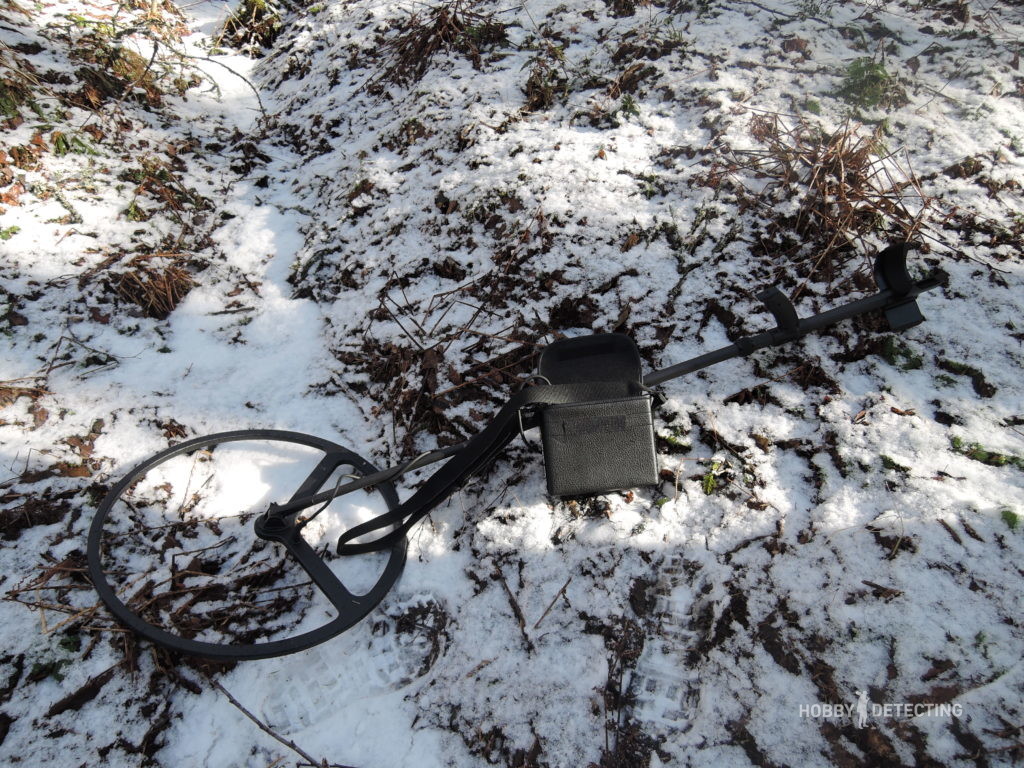
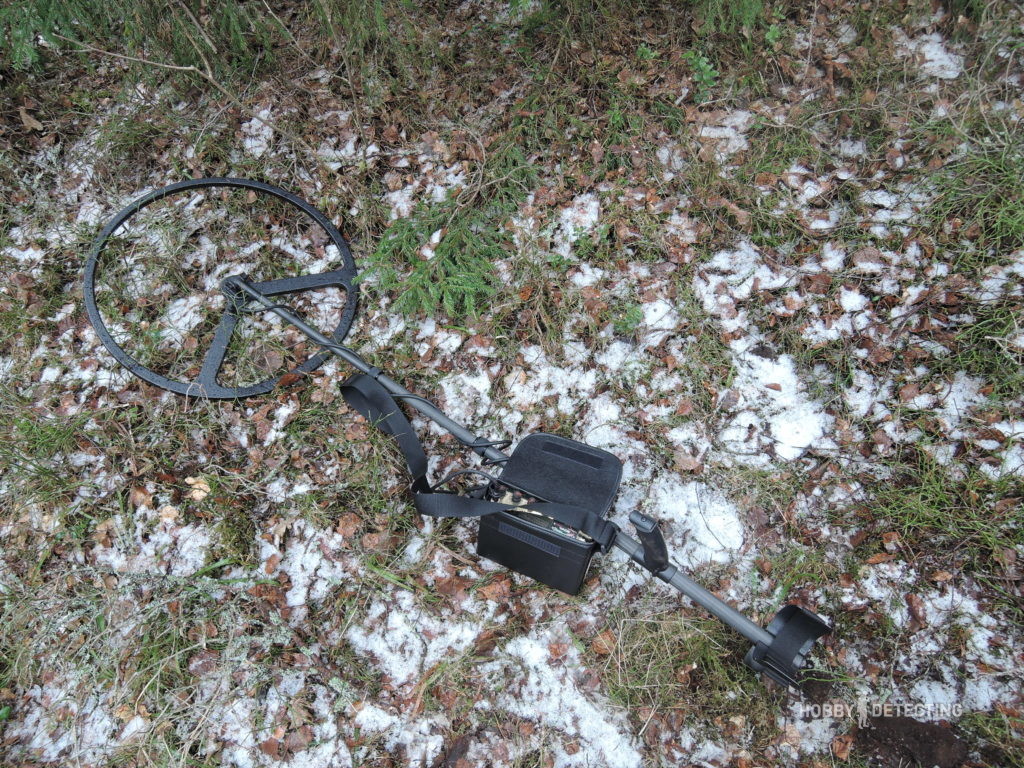
The design is very simple and favorable over the usual design, where it is necessary to carry a receiver and a signal transmitter. But in this detector everything is simple – you have a conventional telescopic rod, a separate detector unit and the ability to install a coil or without the rod to the control box. This depends on the kit you select.
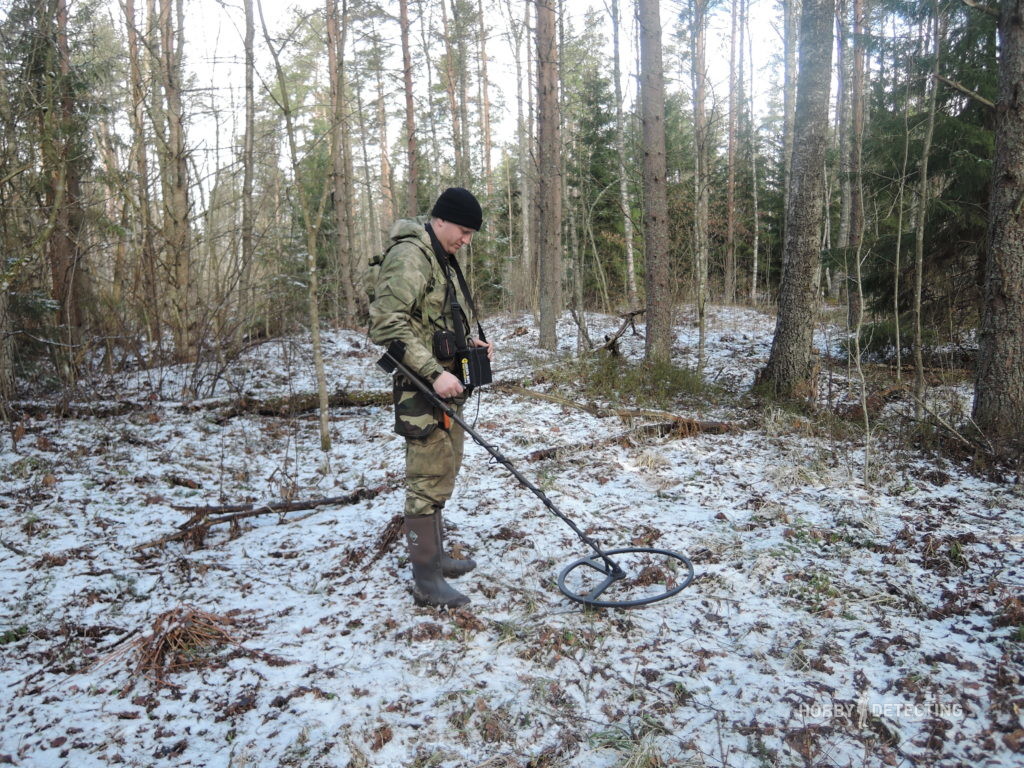
In our case I have a block + rod + frame 180×180 + coil of 58 cm. This was purchased to cover all the necessary tasks.
Using the depth detector along with the rod and coil is very simple because the rod is a regular accessory for the latest metal detectors from Golden Mask. It is very convenient to use – it is compact, folds up to a small size and fits into a normal backpack, the armrest is large and comfortable, made of metal, and the plastic handle allows you to hold the grip with a large coil at the end.
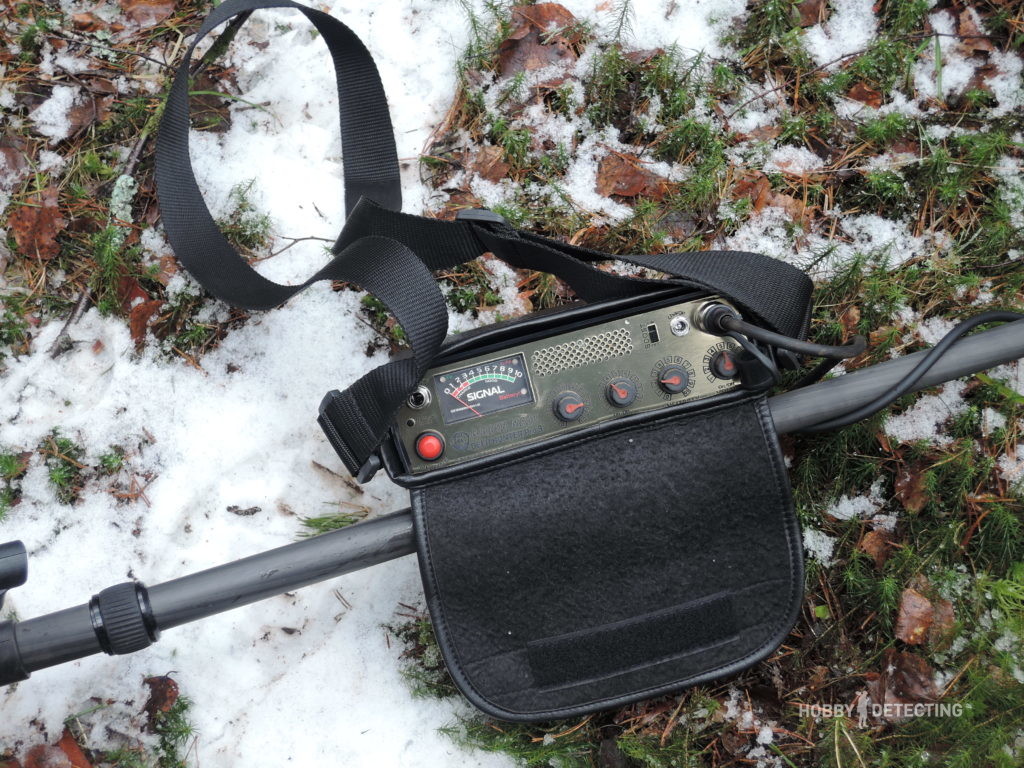
The control box looks massive and hangs on the neck of the operator, but the block is in fact not heavy at all.
The neck does not hurt during detecting and it is quite convenient while walking in the forest and the fields when detecting.
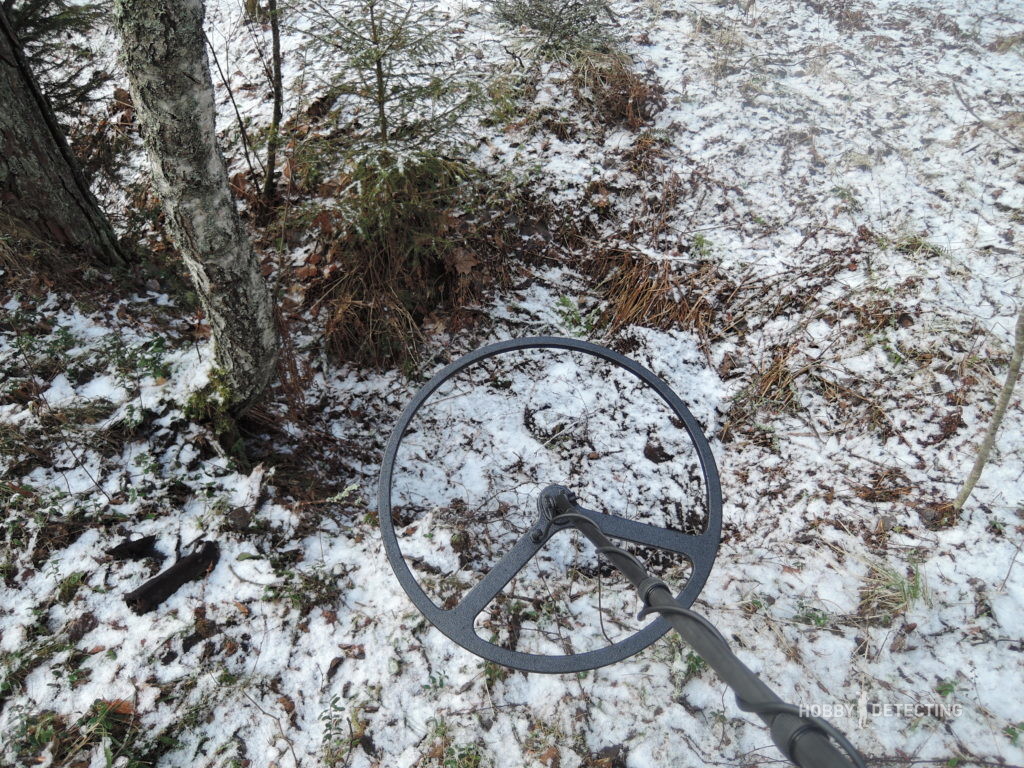
The 58 cm coil, despite its large size, is also light.
Everything is done as lightly as possible to avoid weighting the structure. The average weight of the kit coil + rod + control box is usually +/- two kilograms, which is, believe me, very little! A typical ground metal detector weighs in the region of 1.3-1.4 kg. But do not forget that it hangs on the neck, not on the grip, the main weight is not on your hand, and therefore you can detect all day without any problems – this was one of the key factors on why this model was chosen.
Charging is done through the unit and the power wire because the detector block has a built-in battery, which is completely sufficient for a day of detecting. You have to connect the charger to a special connector with the inscription CHARGE. I constantly charge it after detecting, so I did not check how long it lasts, but according to the manufacturer’s assurances, it will confidently keep 8 hours of continuous work.
Settings and characteristics
In operation and configuration, the depth detector turned out to be very simple and straightforward: no hidden settings, no incomprehensible and unnecessary parameters, everything is simple and right on business. You won’t even have to ground balance it, this is done automatically! This is definitely a bonus!
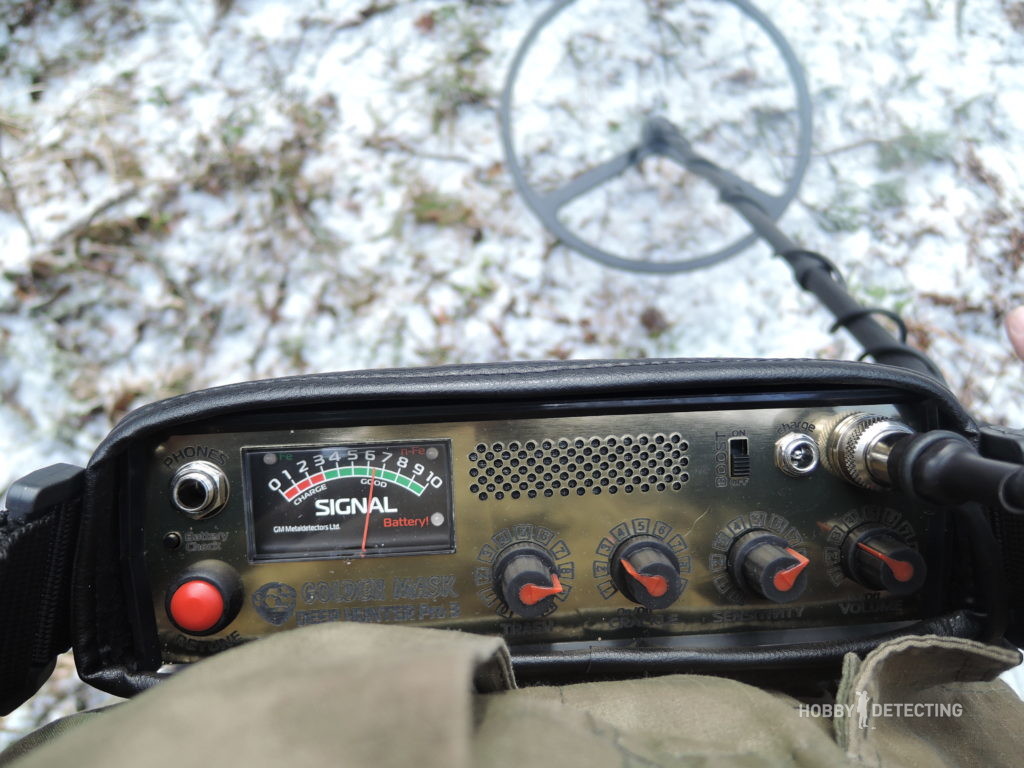
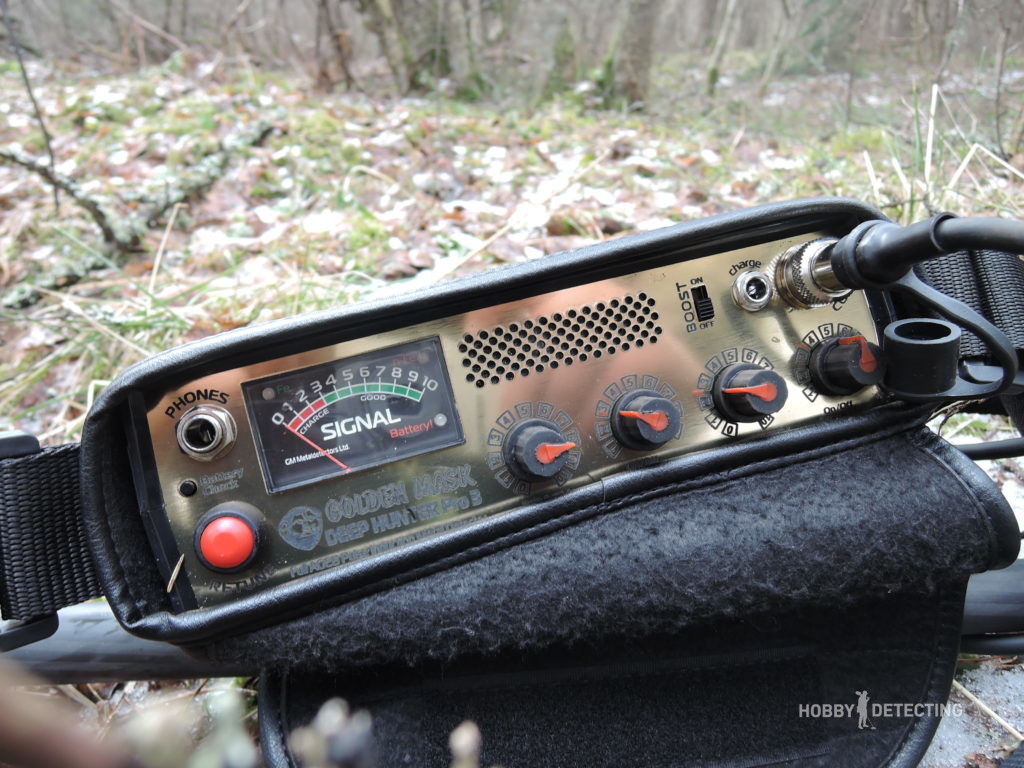
The controls consist of 4 potentiometers and three buttons of different sizes. Basic settings:
Potentiometer settings:
VOLUME ON / OFF – turn on / off the metal detector and adjust the volume of the sound in the speaker. Let me remind you that you can connect your own headphones to the metal detector, it requires a large connector, and not a standard one, like in a smartphone.
SENSITIVITY – well, the sensitivity of the detector. Increase and decrease the sensitivity to deep or small targets.
CRACKLE ON / OFF – this is the setting, which is responsible for the frequency of crackling while the detector is operating. If you put a high value, then there will be a constant – crackling in the literal sense! If you set a low value, then the crackle will sound with a periodicity of several seconds. What is it for? It’s simple. Such crackling indicates the presence of a deep target or a weak signal from the target. If you, for example, have one and same crackling pattern during detecting, but at one point it increases, then there is a target close by. That is, this parameter function does not affect either the depth of the device or its functionality, with its help you can simply catch and hear deep and weak objects.
If this parameter is disabled, the detector will operate in a “quiet” mode and the response of the detector to the signal will be given by a sound – a low tone for metals like iron, and a high one more conductive metal.
TRASH – a very useful setting, perhaps the second one after the sensitivity. By setting the level of “trash” to the minimum value, the metal detector will give a signal from everything, even the smallest metal objects. If you set the level of the trash to the maximum value, the detector will only respond to large metal targets. The sensitivity to large and small targets is also regulated by the position of the coil above the ground – if it’s placed very close to the ground, it will sound on all the metal signals, because the coil should be kept at a height of at least 5 cm, or even better – 10 cm.
And now on the buttons:
RETUNE – this is a button to detach the detector from interference and to reconfigure the metal detector. Every time you change the settings, you need to press this button! And it is useful to do this periodically during detecting because the ground conditions vary from place to place, and pressing this button allows you to set the metal detector for better performance.
BOOST – a small regulator, which when turned on, gives approximately + 20% of the depth is added. This is not recommended for contaminated areas – the appliance will not work reliably.
BATTERY CHECK – when you press this small button on the screen, the arrow will show you the remaining battery level. If it is on the 7th, then the battery is 70% full, but if it’s on the 3rd, then the battery is 30% full and so on. With a weak battery in the detector, the “BATTERY!” light will light up.
My preferred settings
Now let’s talk about the settings and how I set up the detector. Basically, I use it to search for relics from the Second World War. It’s interesting to check the dugouts, for example, and with this detector, it’s easier to choose which dugout to cover if there are several ones. It is also useful to run around the positions/trenches and between them, especially in places where the troops were stationed for a long time – from a month and up. In this case, with the help of this detector, it is very easy to find a garbage dump – a place where soldiers threw away all the unnecessary metal. This garbage dump can be on a small area (10x2m, approximately) – here you can find parts of equipment, spare parts from machinery, different cans and other metal objects. There can be a lot of interesting things – everything from mugs and bottles to machine guns, helmets, bayonets and other knives.
Now let’s talk about how to use the detector. Here everything is simple – you’ll have to turn on the detector holding the coil/frame above the ground, somewhere cm 30 above. Then you have to lower it to a height of at least 10 cm and begin to adjust the settings. The level of TRASH I usually put above the average. The volume I also set less than average – the speaker is loud. I do not put the sensitivity on maximum, but I even put it below average. The CRACKLE I set depending on the situation, but usually below average and at a low value – 2 or 3, but not more. What does this combination give? Very simple: Quite a lot of things from the war are not deep, at the level of 30 cm, which means that we do not need a big depth, the main thing is to cut off the small objects from the large signals. This combination of settings allows you to do this.
If we check the dug-outs, then, in this case, it makes sense to walk through one area at different sensitivity levels, but at the same level of TRASH setting. So you can get through to the deep metal in the dugout, for example – if there’s still a helmet there. I do not turn the BOOST on, because there are a lot of small metal debris and the detector starts to work a bit unstable.
My experience from detecting with the Golden Mask DEEP Hunter PRO 3
And now I will tell you about a small trip with this detector, which I made to the camps of the Wehrmacht from 1944. There are a lot of positions there, too. There were already some trash cans on the surface there, and there are still those that have not yet been found. This was our task, to check the positions and see if we could find something. It was early spring, the soil was normal already, you could dig it.
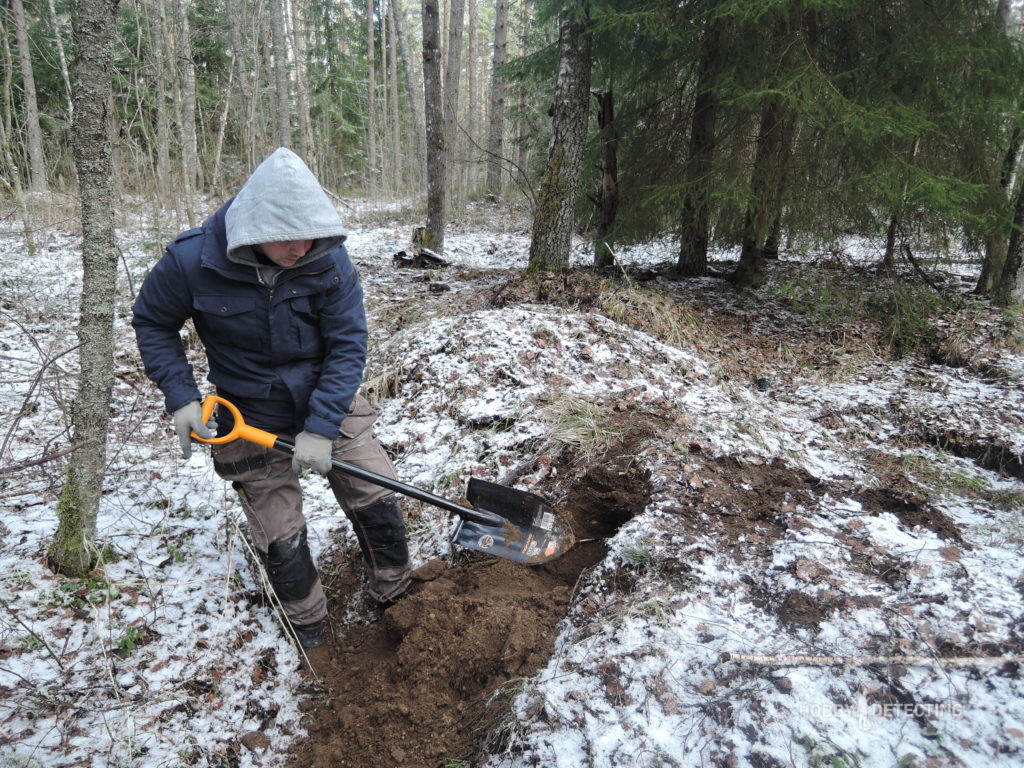
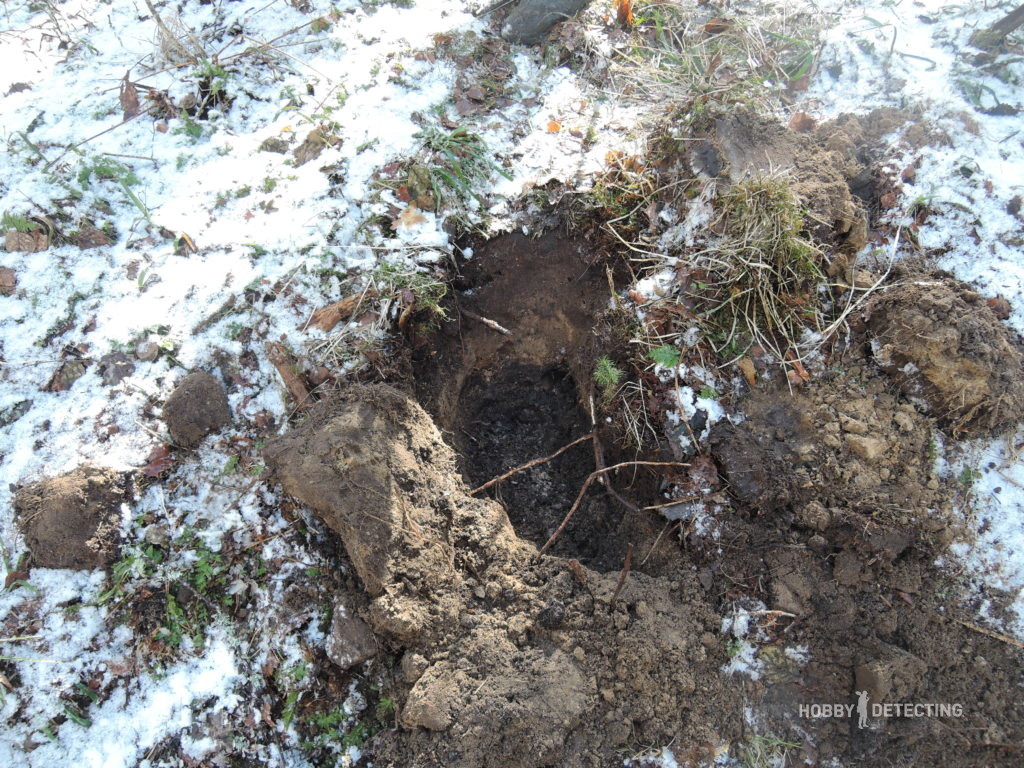
We set up the detector and went on detecting. In general, I always recommend working in pairs with such detectors. You can change the roles – one on the shovel, the other on the detector, and then vice versa. Thus it will be much easier to collect large metal objects and look for different deep objects. We arrived at the positions and got the first signal, and we dug:
As you can see, the detector excellently cuts off all the small things from large signals with our settings.
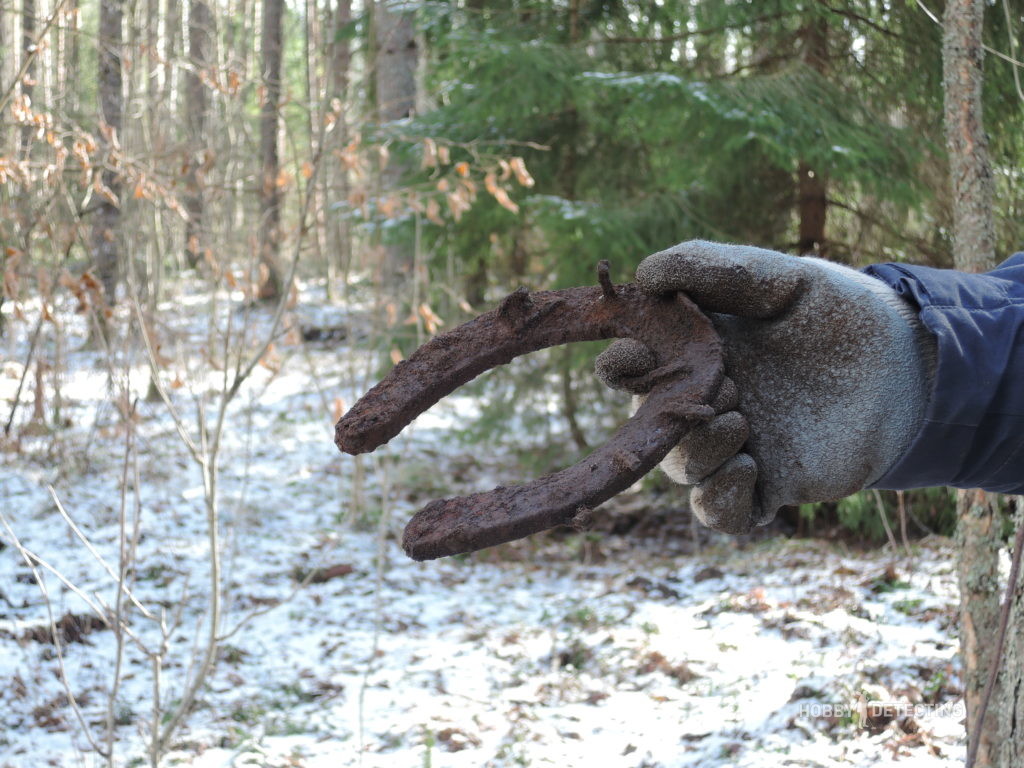
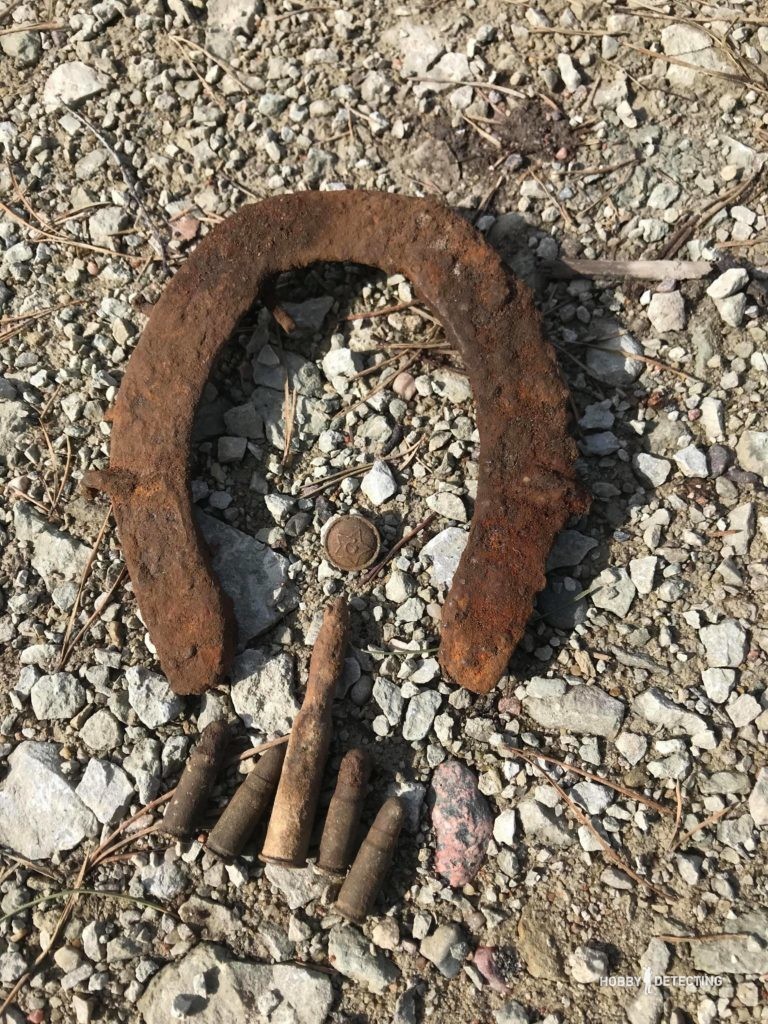
And the first find was a German horseshoe, an army horseshoe. Funny, but not far from this place, we somehow found cavalry spurs with a normal metal detector, not too long ago.
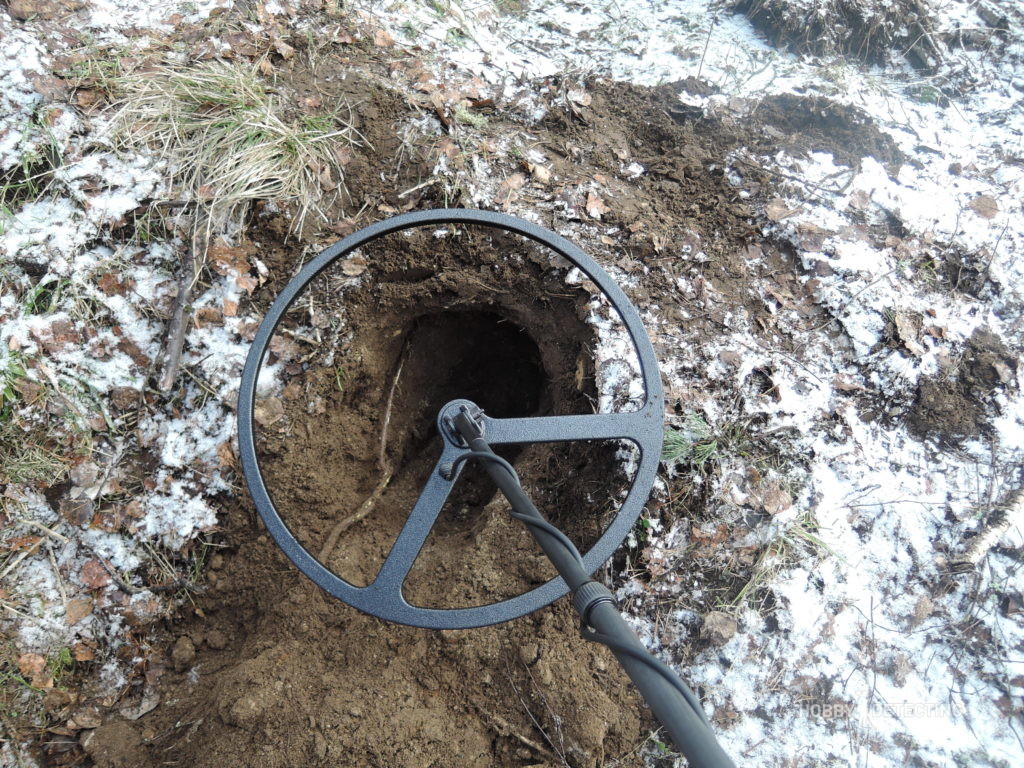
Here’s an example of a dug hole and the coil. The hole is quite deep for a conventional ground metal detector, but this is an example in which – even without a pinpoint mode on the deep detector – it’s fairly easy to understand where to dig. The strongest signal is in the center of the coil, because the coil is a mono coil, and the detector uses pulse technology.
And don’t forget that a pulse depth detector doesn’t distinguish signals as good as a normal VLF metal detector does, but that does not make sense to do for a depth detector- if the object is large, then it must be dug, no matter what kind of signal it gives. It will often be mistaken, but a large German helmet rings with a good signal on normal detectors?
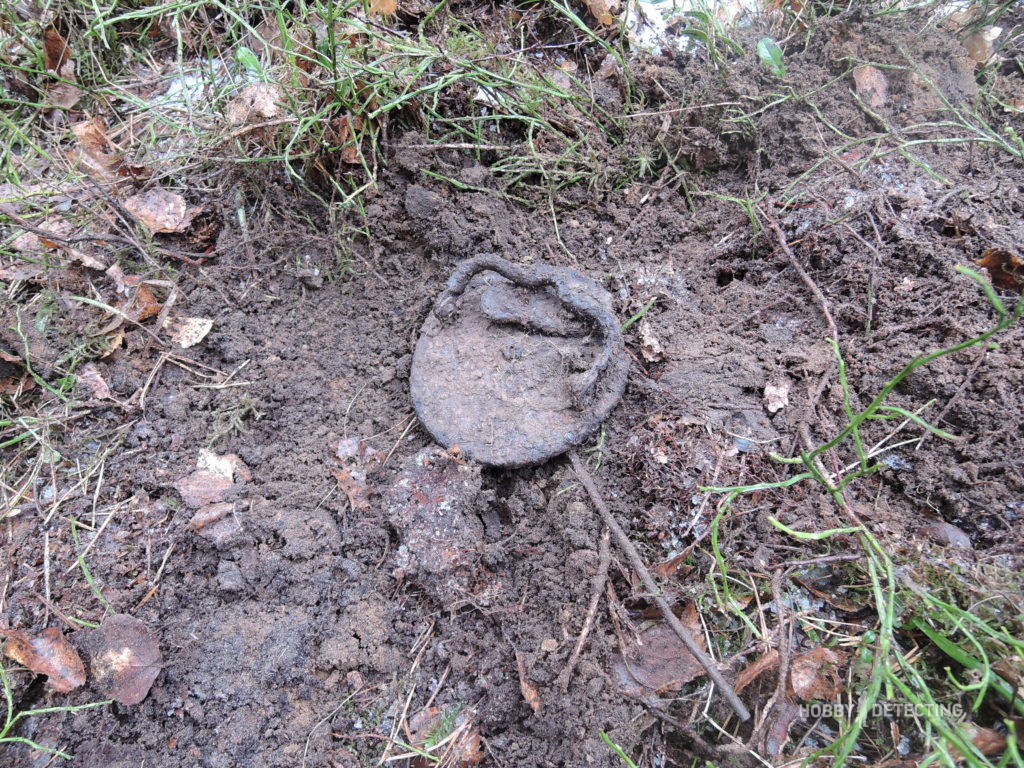
Then from the ground, but rather shallow, we find a lid for a German 50 round ammunition box. Under the lid there also were the broken walls of the box itself, it was apparently crushed. The cover of the disc has the carrying handle.
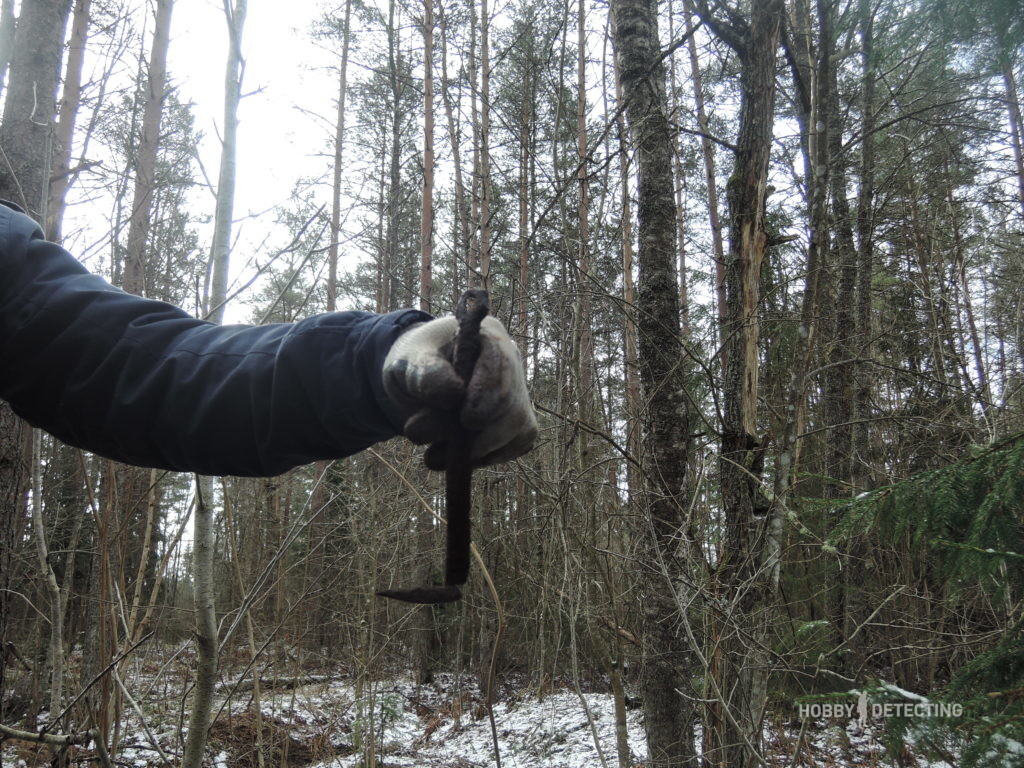
With these settings, the detector also finds large targets on the surface. For example, you can find a tent peg without getting any signals from the shell casings laying around everywhere. Example:
It is a pity that it had a broken nose, but a peg is not even bad. It was at a depth of 10 cm, on the edge of a position and a trench, it is clear that they put a tent there, and the peg was broken and left. Around, naturally, there was a bunch of metal debris. The rest of the pegs were gone, apparently the Germans dragged them away.
And this is the small result from the finds of the depth + ground detector.
Conclusions
Detecting with the depth detector is a completely different kind of detecting, it’s not the same as with the normal detectors. The main goal is large objects, and you can use the depth detector both for detecting war relics- to find helmets, weapons, knives, other large metal objects, and also to search for antiquities – for example for coin hoards and various other large objects that can be a quite good cost as a collectible item.
For these tasks, the novelty from Golden Mask fits perfectly, the benefit is also the coil and the bar – which increases the functionality of the detector to also search in the forest and the fields, as it isn’t possible to go detecting with such a frame every day, and it is also difficult to walk in a forest with such a frame. There is an opportunity to buy a small coil, but I have not found it necessary yet, we have enough for all of our tasks!
It is interesting to detect with such a depth-very many large metal objects turn out to be interesting finds. This could, for example, be machine guns and German gas mask containers.
Such a depth detector will also help archeological search units – because often next to the helmet, its owner lays there himself, and hence another soldier will return from the “missing”.
Read our blog, from time to time we will write reports from detecting trips, and following the Golden Mask Deep Hunter PRO 3 tag, you can find all the posts on this subject. Good luck detecting!



Does the golden mask deep hunter pro 3 sometimes detect pieces of pottery and broken vessels like metal? And what is the effective depth in desert rocky soils
Hello! Yes, it will detect it. As well as in desert rocky soils this detector will be very effective.
Hi golden mask deep hunter pro can find gold?