Fisher F-Pulse Pinpointer – First Impressions (Kit, Settings, Design+)
Recently I got my hands on a relatively new pinpointer from Fisher, namely the Fisher F-Pulse! I can’t wait to really try it out for what it’s worth out in the fields, but meanwhile, I will tell you about my First impressions from testing it so far.
The Kit
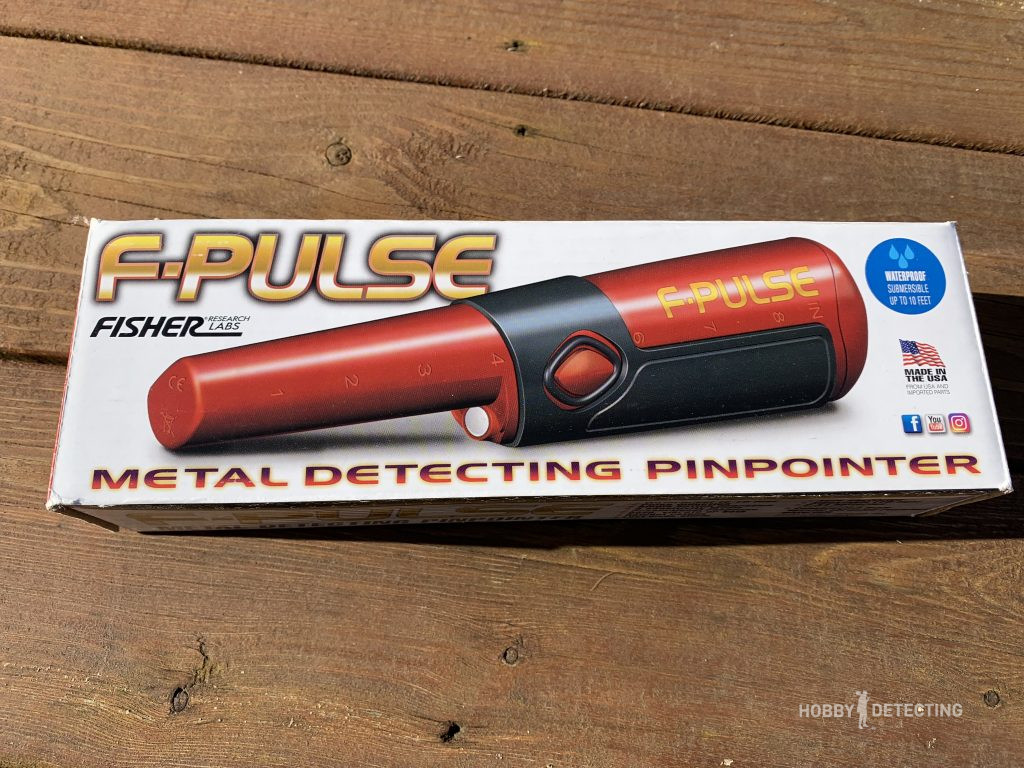
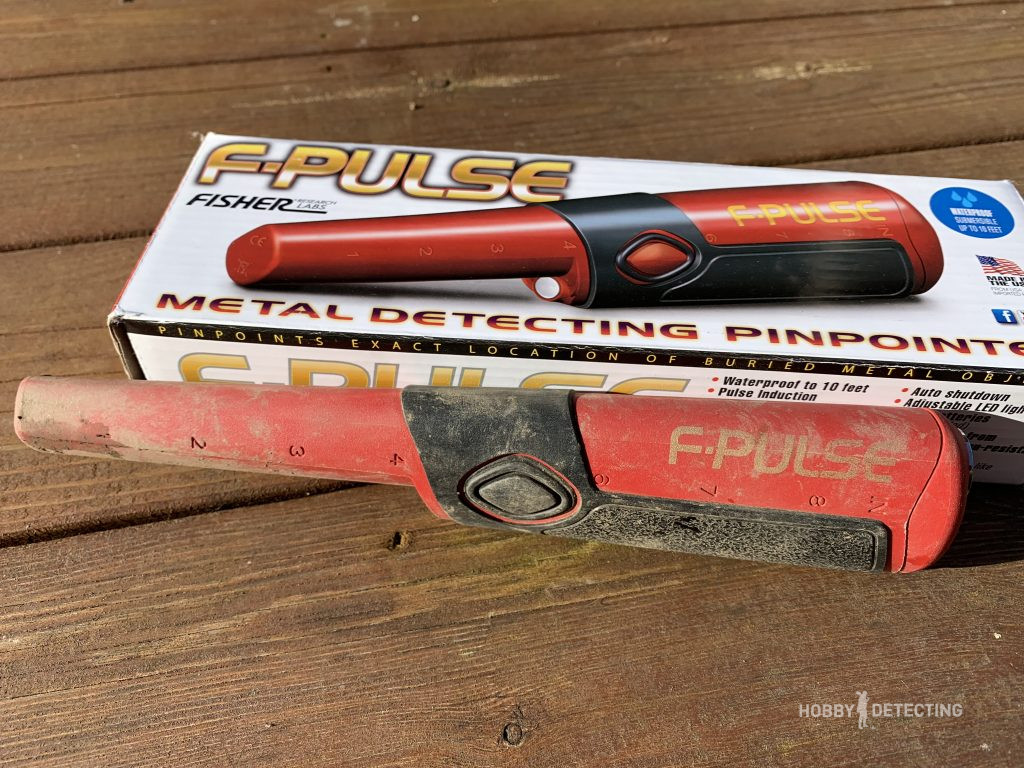
The kit is pretty simple and straightforward. It is delivered in a compact and good-looking box from Fisher, which includes all the necessary items.
Inside the box itself, you’ll find the pinpointer (obviously), its holster, and a user’s manual. A thing that I would like to add to this kit would be a lanyard for the pinpointer, but this can be bought fairly cheap, so that’s not really an issue.
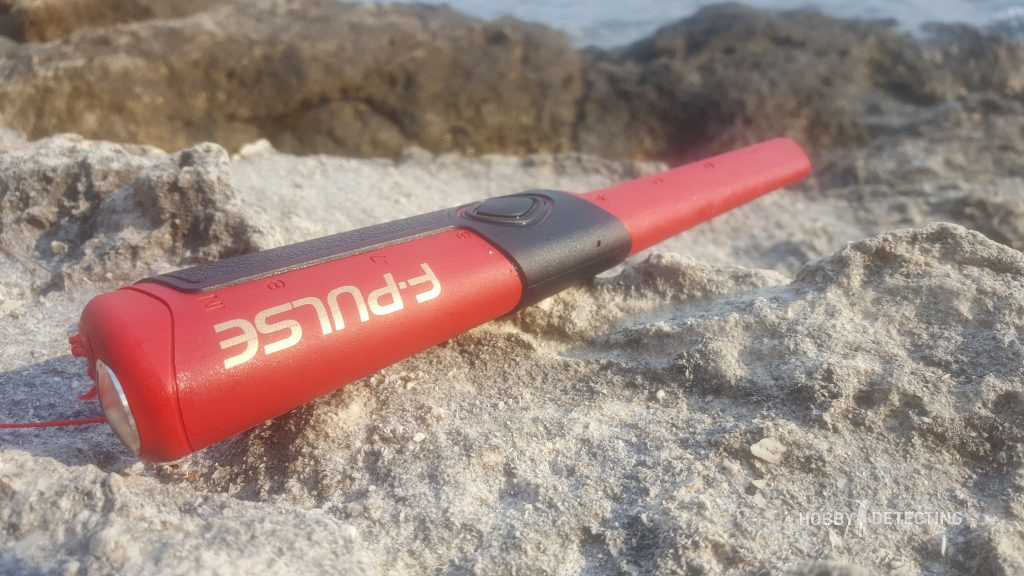
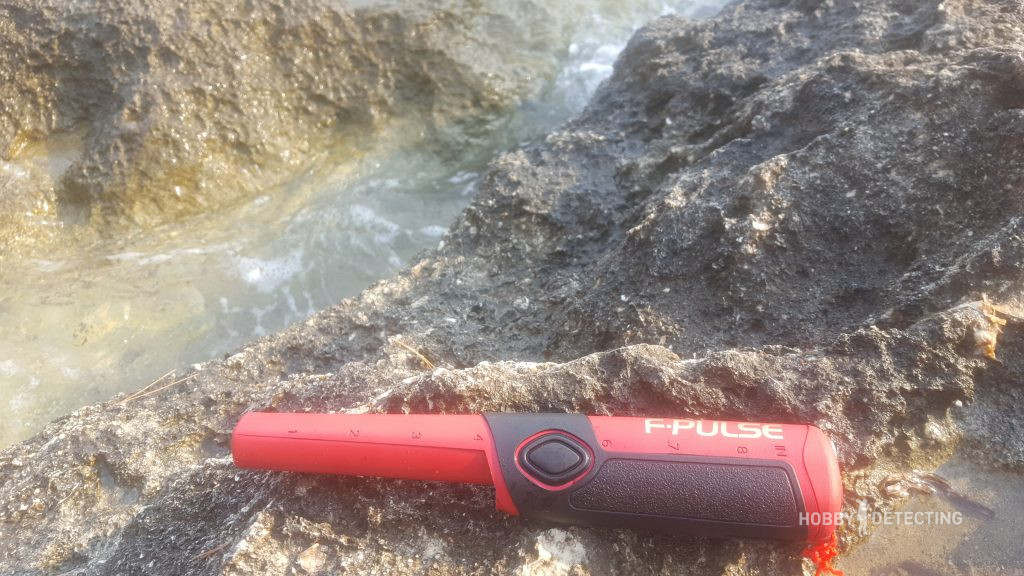
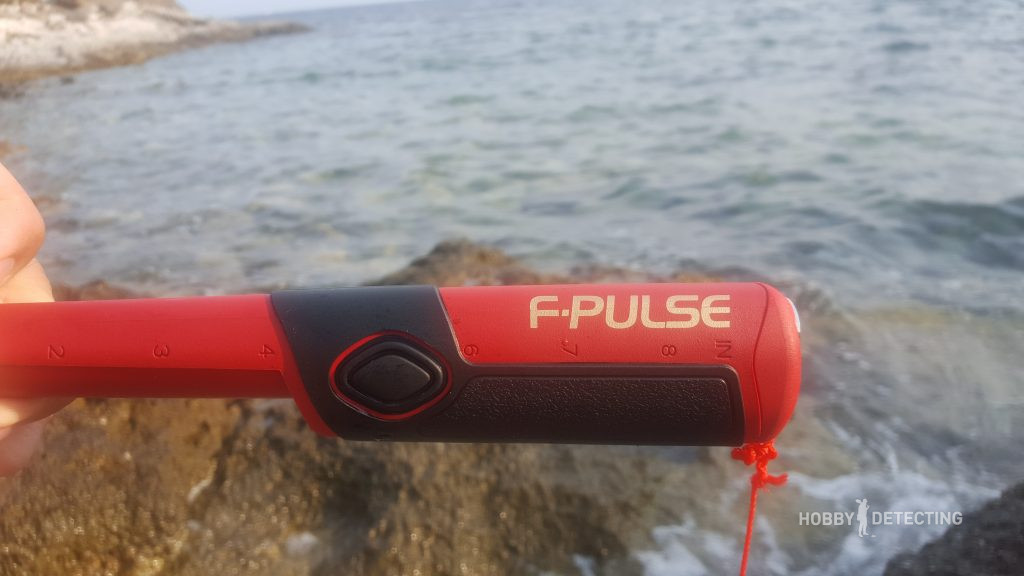
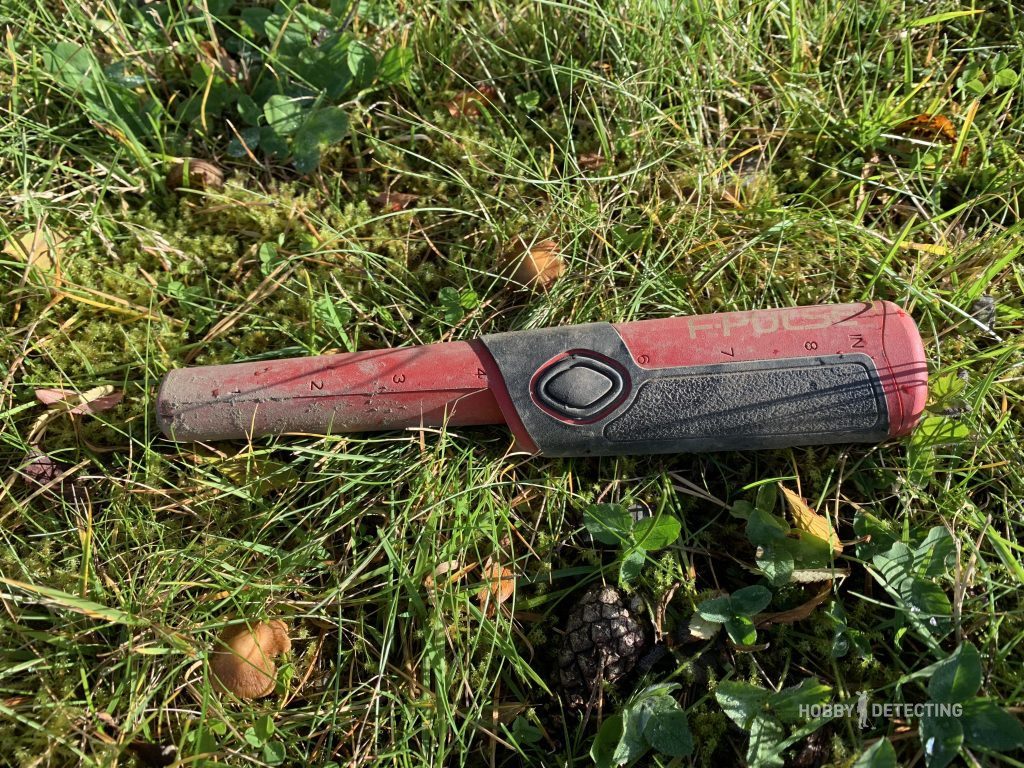
The pinpointer itself is quite interesting. It is red, so it will be easier to find it in the field or other places if you leave it by accident.
The design is nice and has good quality, which we will discuss more.
The Design
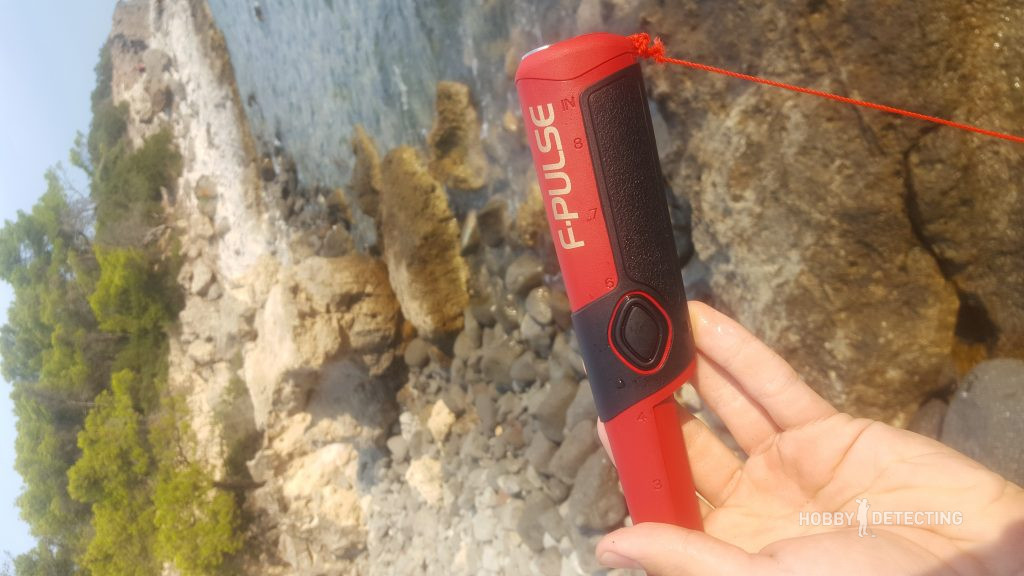
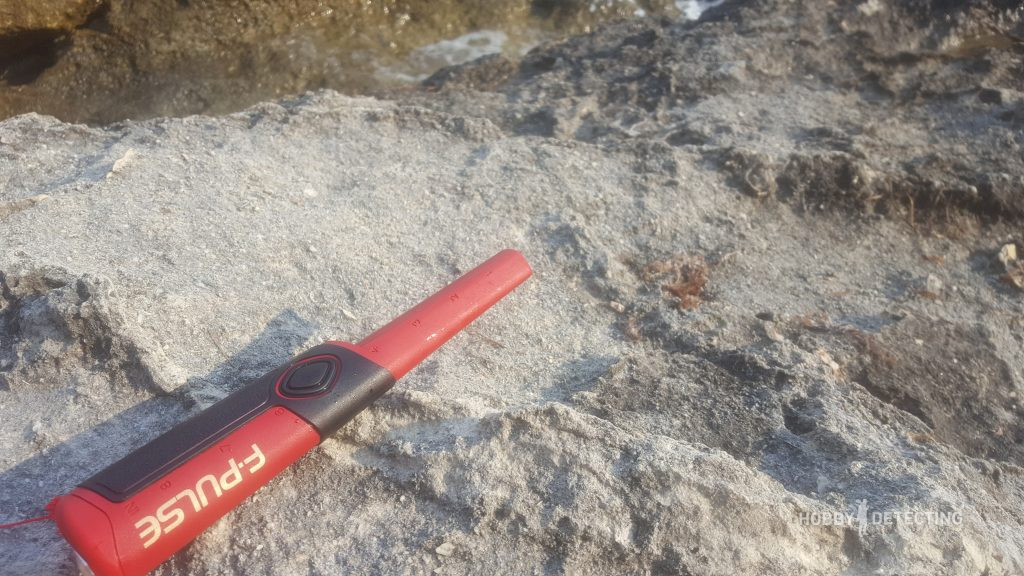
The pinpointer has a pretty modern and slick design. It is quite comfortable to hold in the hand, and also to use.
The pinpointer uses two AA batteries, which is, at least in my opinion, better than using a 9V battery! Even in the manual itself, it says: “Throw away your 9-volt batteries folks. Welcome
to the 21st century!” I can’t argue with that;)
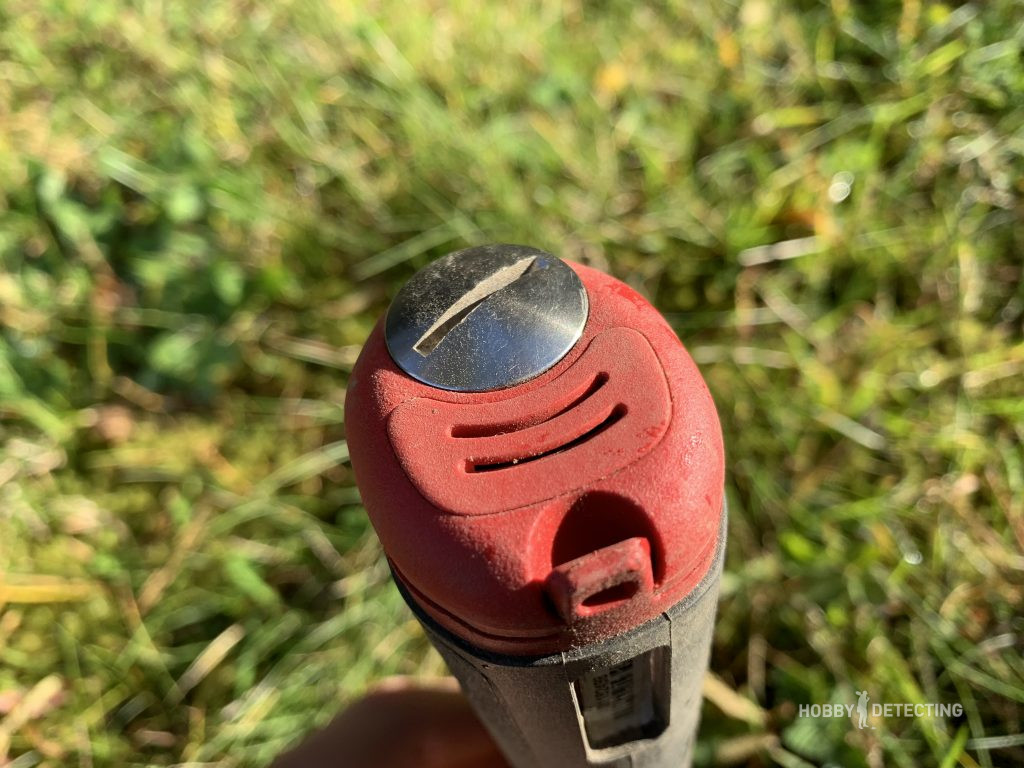
After inserting the batteries, the battery lid can be closed securely and, thanks to the rubber band around the lid, the battery compartment is protected from water and dirt.
The speakers are located right over the battery lid, something which is an interesting design feature. My first pinpointer was the Makro Pointer, and it also had the speakers at the very top of the pinpointer. This worked well with the Makro pointer, and therefore I don’t see why it shouldn’t work with the F-Pulse.
The detection tip on this pinpointer is 360° around like on most other pinpointers in this price range.
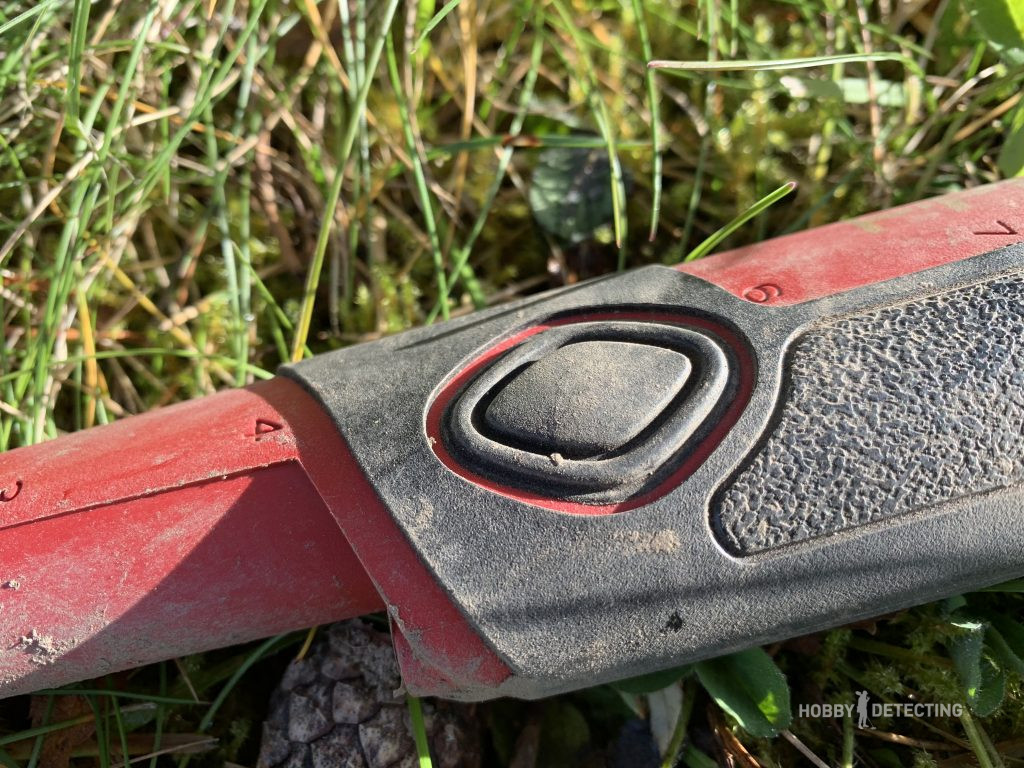
The pinpointer has one button, and you really don’t need more than that.
The pinpointer is waterproof up to 6 feet/1.8 meters for 1 hour, and this is really a big bonus! Then you don’t have to worry about it being damaged by a wet environment, like wet grass, when detecting.
Like on many other pinpointers, there is a flashlight on this one too.
As you can see, it has the standard flashlight placement like on most other pinpointers with a flashlight. The flashlight lights up really good on the max setting, which brings us over to its settings!
The Settings
Even though this pinpointer just has one button, it has a lot of settings to choose from, like changing the intensity of the flashlight. To do this, you need to have the pinpointer turned off, and then when you turn it on, you just hold the button until you’ve set your desired flashlight level. Convenient, right?
And if you want to switch between the modes in the pinpointer, you have to have it turned on, and then just hold the button until you hear the configuration tone (three jingle beeps). Then you switch between the modes of the pinpointer just by pressing the button, and the modes are as follows: The pinpointer has three different modes with three levels of sensitivity. It has vibration only mode, audio-only mode, and a vibration + audio mode, and each of those modes have three levels of sensitivity. To go back after choosing your mode, just press and hold the button until you hear the configuration done tone (one single beep).
And then we have a very interesting and unusual function: if you have the pinpointer turned on and hold it past the mode configuration tones, you’ll hear another tone signal. This indicates that you are in frequency shift mode (yes, you read that correctly). What a useful function! To switch between the different frequencies, just keep tapping on the button. There are 16 different frequencies to choose from, and when you hear the double beep when switching between frequencies, you’ll know that you’ve reached the start again.
But now you may wonder why you need to change the frequency on a pinpointer? Well, the answer is simple: To prevent interference from your pinpointer to a metal detector or vice versa. We all know how irritating it can be when you’re pinpointing, and your detector starts giving false signals from the interference.
This pinpointer also has a re-tune function. To re-tune/ground balance this pointer, just press the button quickly at any time during the operation.
This pinpointer also has a “lost mode”, which I think the manual describes pretty well:
If the F-Pulse is left powered on with no button presses for 5
minutes, it will enter Lost Mode. The unit enters a low-power
setting, the LED flashes and the unit beeps every 15
seconds. After 10 minutes, the unit will completely power
down.
Well, this could definitely be a useful function if you forget your pinpointer while out detecting. And trust me, it happens! I have multiple fellow detectorists who have experienced this.
Conclusion
My conclusion is that this really seems like a great pinpointer with all its functions, the design, and settings. It has a modern design, great functionality, and it looks pretty promising overall.
I can’t wait to test it out in the field to see how it does, and of course, I will tell you about it, so stay tuned!

