Teknetics Tek-Point – Our Review! (Tips, Settings, Photos+)
Greetings, fellow detectorists! As usual, we have a new review of a very fresh and new product, namely a pinpointer! At the moment, there are so many pinpointers on the market of metal detectors and detecting equipment, which sometimes you do not even know how they differ from each other and what you should choose for your next purchase. The pinpointer is an important piece of equipment for detecting, and therefore you have to handle it the right way. I have repeatedly seen how some of my fellow detectorists have “killed” their pinpointers after just a couple of months. Something which is quite surprising, because I’m in my 4 years that I have used a pinpointer (I’ve also been digging for quite a long time without pinpointer), I have never broken one, and my first pinpointer still in excellent condition!
Yes, there are a lot of pinpointers now, you cannot write reviews about all of them, but there are two pinpointers that I really liked that came out this year – in early 2018. That is the Fisher F-Pulse and Teknetics Tek-Point. The differences are only the colors, so today we will only talk about Teknetics Tek-Point.
Where to order Teknetics Tek-Point in USA? Promo-code for TekneticsDirect!
You can order Teknetics Tek-Point pinpointer directly from Teknetics, just visit TekneticsDirect.com and use our promo-code to get a FREE shipping:
PROMO-CODE: A1479
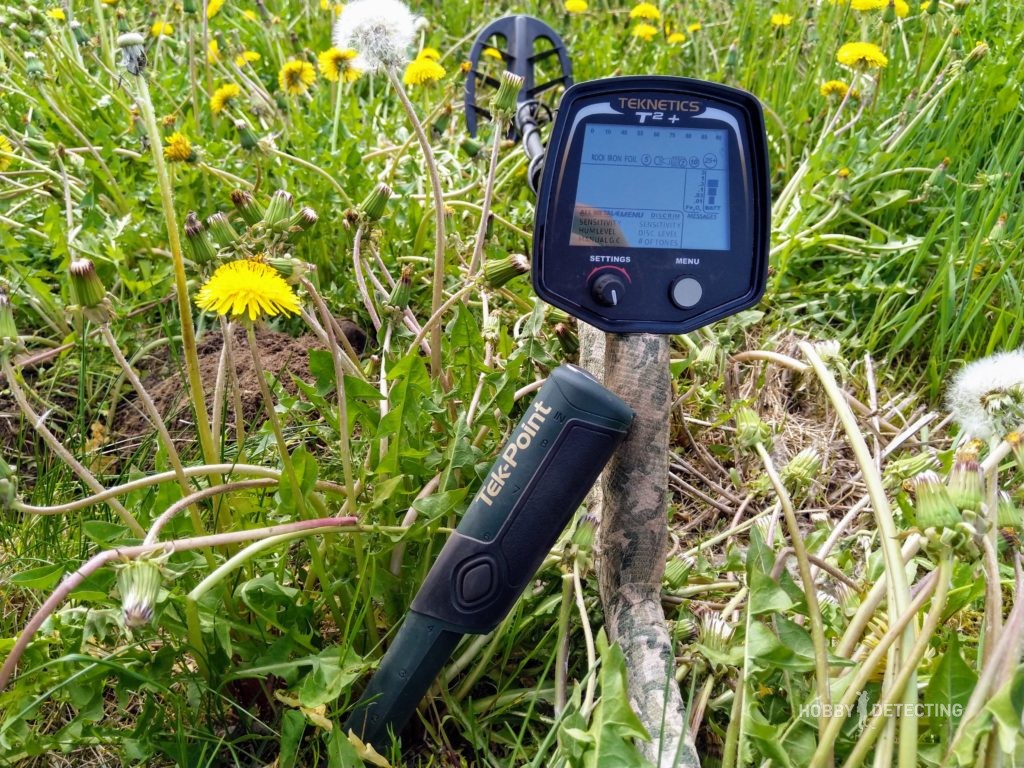
Also you can order other tools and even metal detectors, like this T2+ bundle pinpointer included!
Design and characteristics
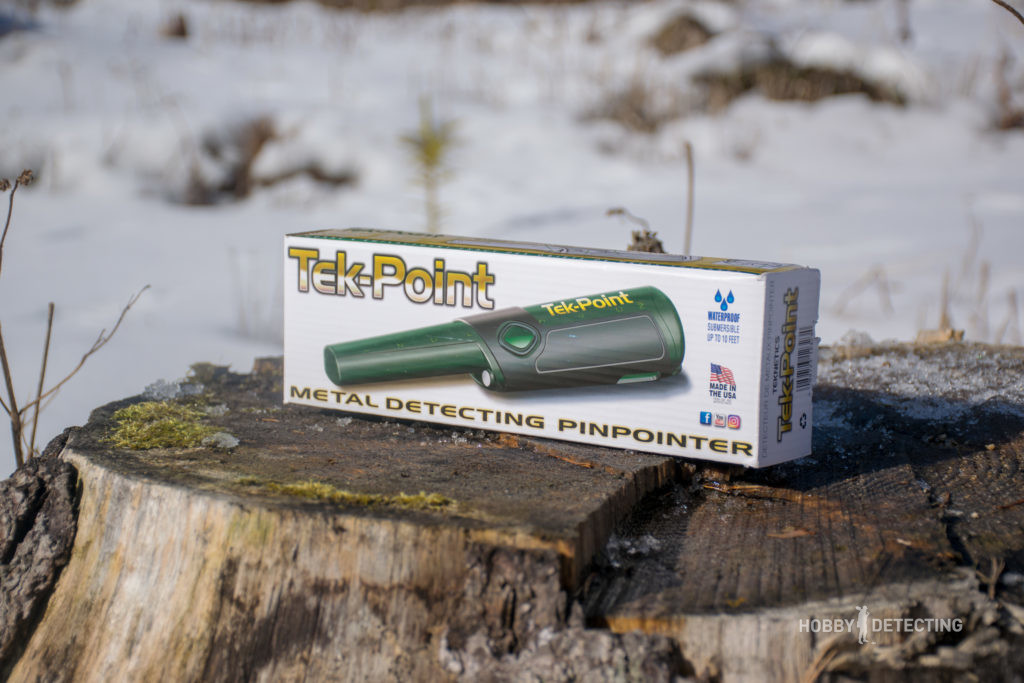
A pinpointer from Teknetics is sold in such a cardboard box with even more interesting contents. This kit includes the pinpointer, a manual and a holster. I wonder why there is no lanyard included – this question is mostly directed towards the manufacturer. However, do not forget that the pinpointers from Garrett are also sold without a lanyard.
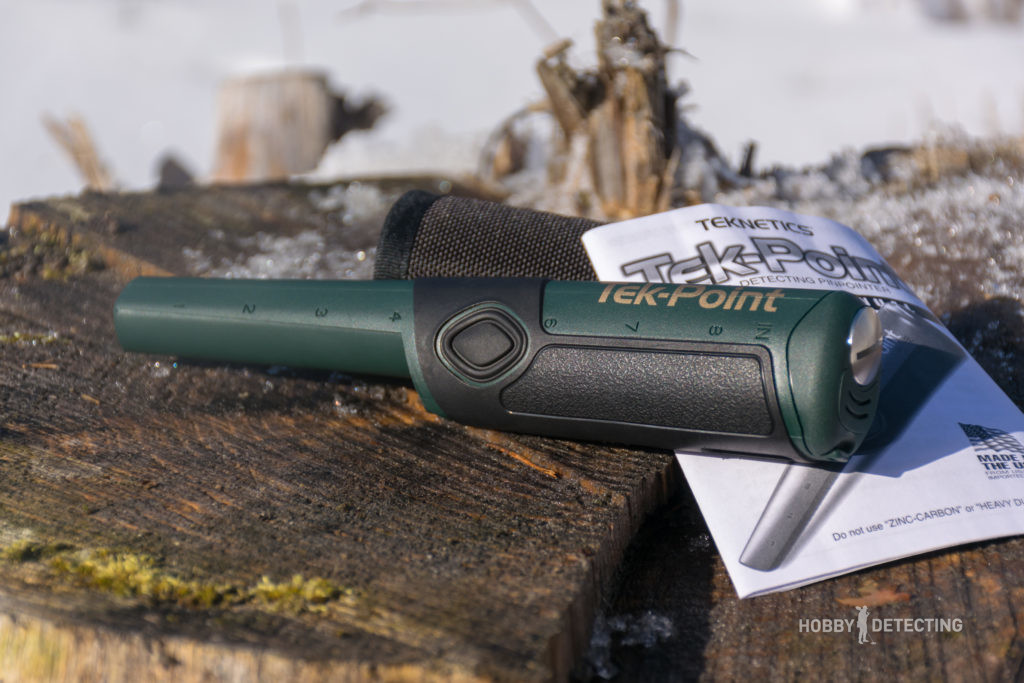
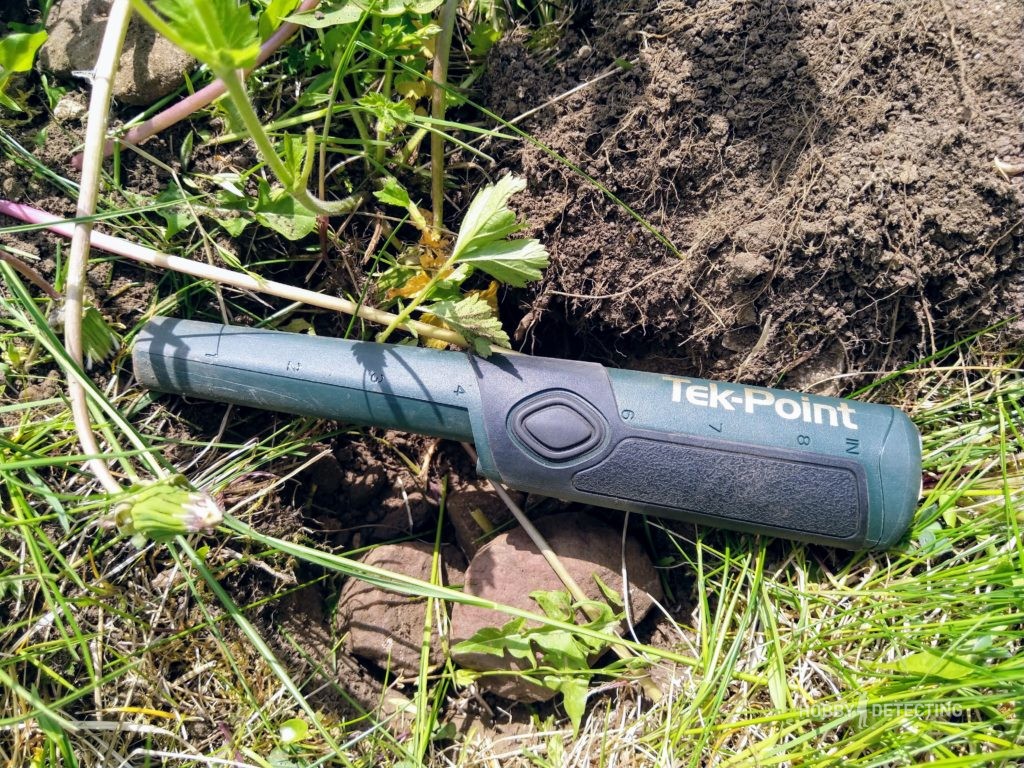
The pinpointer itself is of a very standard construction. It requires two batteries (2 AA), which are inserted through the lid, which must be unscrewed with a screwdriver or a coin. This is done to ensure water resistance, because the pinpointer can be immersed to a depth of 2 meters and keep at this depth for 1 hour. The button is located in the middle and the handle is made of a kind of rubberized plastic, which gives a comfortable grip.
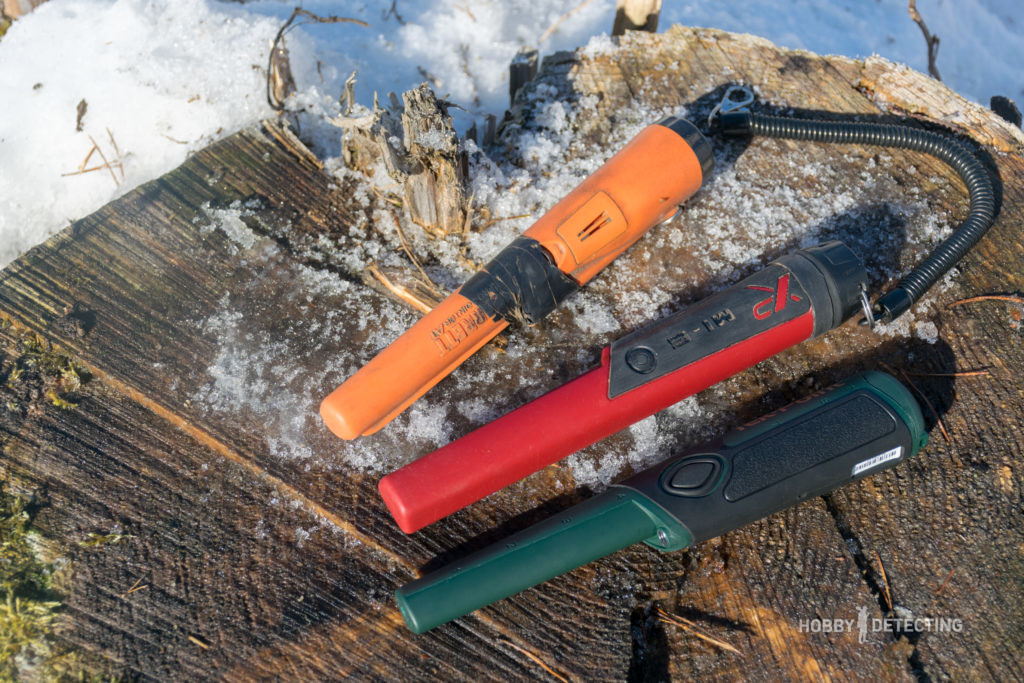
The length of the pinpointer from Teknetics is almost a centimetre longer than the pinpointer from Garrett (the “Carrot”), and it is the same in length as the XP MI6. During detecting, I honestly did not notice the difference in length, so there’s nothing to say about this.?
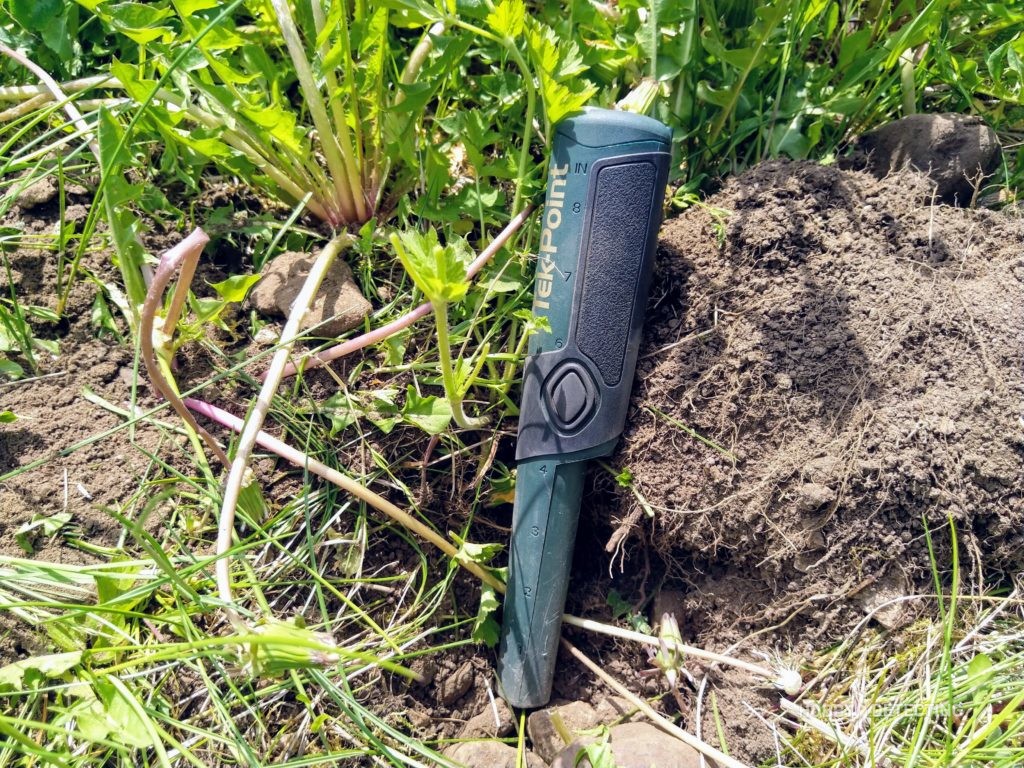
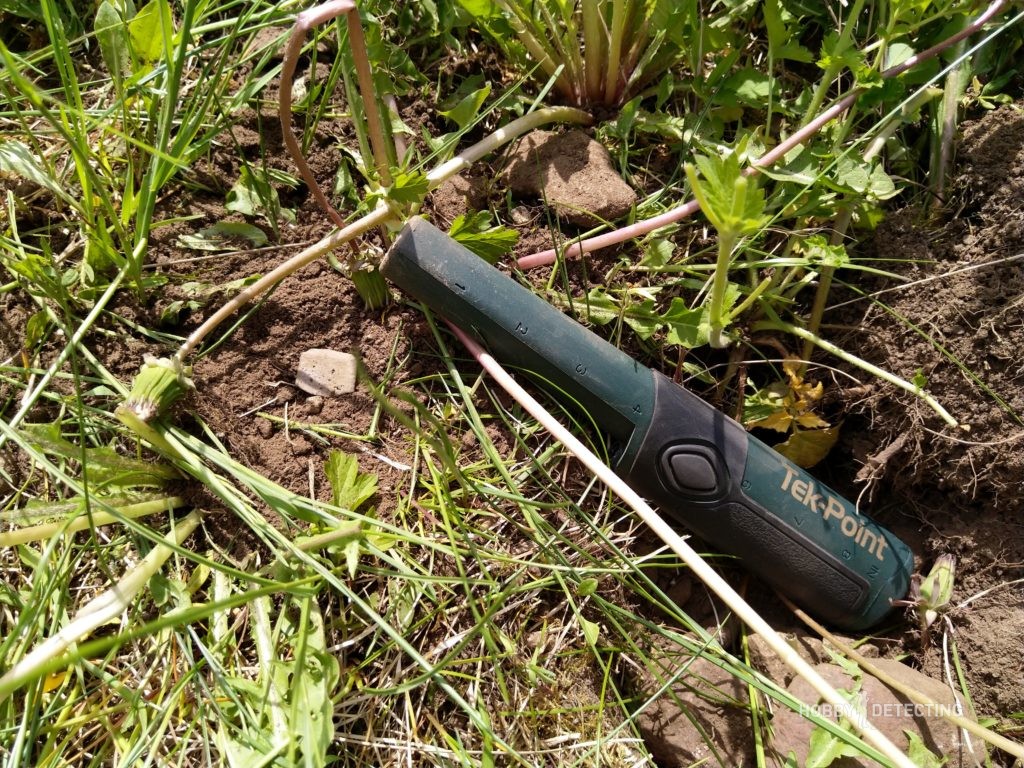
There is a ruler on the pinpointer body, on one of the sides, you have inches, and on the other side, there are centimeters, so it will be convenient to measure depth.
Several times my fellow detectorists have asked about the quality of the plastic and how strong this pinpointer is. An interesting question, no doubt! The truth is that the pinpointer May look a bit flimsy in appearance, but the plastic is strong. Periodically, I try to dig a hole with the pinpointer blade, and it handles this task without any problems. ?
Now to the most important thing that distinguishes this pinpointer from others – it uses pulse technology. The advantages of such pinpointers and metal detectors include low sensitivity to the mineralized ground and salt water, and relatively fierce battery consumption. Some more about the last disadvantage – two AA batteries are enough for about 20 hours of detecting, I use rechargeable batteries and always charge them after detecting. Moreover, on to the other issue – very often, when you turn on any pinpointer and bring it close to a highly mineralized ground, it starts to produce false signals; this happens when the maximum sensitivity is set. This issue is easily solved. In general, any false signals with this pinpointer are solved easily with one short push of the button. You just press the button, something that calibrates the pinpointer to the ground/water/sand. I tested this everywhere – even on the sea in the salty sand, and the pinpointer worked better than all other ones I have tried!
With pinpointing, the task is to quickly find a small target in the ground, and the Tek-Point does this perfectly. Why don’t other manufacturers make impulse pinpointers? The simplicity and at the same time the complexity of this task – the task to make an impulse pinpointer requires very serious work and design, and First Texas Products were able to do this. The others have not come this far, it seems. In any case, for us, diggers, this is good news. For those who detect gold on the beaches, it is simply a necessity!
The detecting area at the tip of the pinpointer is 360 degrees.
What else does this pinpointer have?
Naturally – it has different search modes. It has three levels of sensitivity – minimum, medium and full sensitivity. In addition, three additional levels of response: vibration, response, and vibration + response. These can be switched by pressing the button for a longer time until you get the response that you have entered the menu. From here, you can switch between the modes by just pressing the button.
It can be ground balanced. About this, I have written above – a short and simple click on the button and you have already ground-balanced your pinpointer.
Frequency shift. Yes, you did read correctly. With the help of frequency shift, it is possible to remove false signals caused by the metal detector when the pinpointer operates. Very often, the metal detector interferes with the pinpointer, and I have had to place it far away from the pinpointer, but still, there were some background signals and the unstable operation of the detector led to a slight frenzy. With Tek-Point, now you can forget about this. To change the frequency, press the main button and hold it down until you hear two beeps! After this, you can press the button and select the quietest frequency by pressing the button, and there are as much as 16 frequencies! The quietest channel will immediately be heard – your metal detector will just be silent and that is all.
A “lost” alarm. This is in case you have left your pinpointer near a pit and left, the pinpointer will start signaling after five minutes of activity and will flash the LED. This signal is sent every 15 seconds, and the pinpointer will automatically switch to low power mode so that you can easily find it. However, it is even better to just buy a lanyard and attach the pinpointer to your belt, bag or case, so there is less chance that you will lose it or leave the pinpointer, and it will be harder to drop it.
This pinpointer is at the moment one of the deepest pinpointers in the market of metal detectors. Yes, the depth for pinpointing is not very important, but sometimes it helps, for example, if you find an object and you do not start digging it out, but you understand that the target is shallow, and then you can just find it with the pinpointer and use it to pull it easily and neatly out of the ground. This is especially important on the beach search, where, mainly, the finds lie shallow.
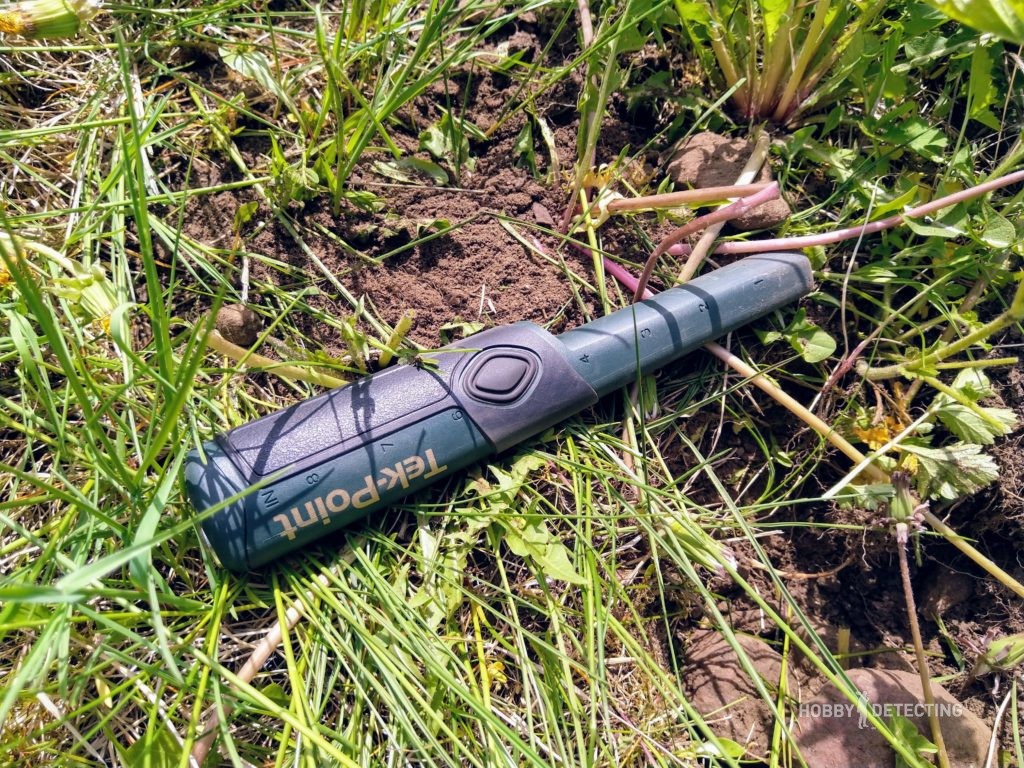
At this point, I always go digging with this pinpointer, so do not be surprised when it appears in future photos and detecting trips – I am very pleased with this pinpointer and I will not change it for a while!
Good luck out detecting!

