Nokta Impact Metal Detector – Our Review! (Information, Review and Hidden Settings+)
Hello, fellow detectorists! It’s been more than half a year since the release of this novelty of 2017 – the metal detector Nokta Impact from the Turkish company Nokta. I will say at once – the review will be large and divided into different parts because the metal detector turned out to be quite serious and it’s quite difficult to understand it right away, and especially – to figure it out completely. I have been detecting with this detector for more than four months already, and for me every time when working with it, there were many discoveries and interesting novelties. Okay, there’s no time to explain, let’s move on to this serious detector!
What’s in the box?
About the PRO configuration, I have already written in a separate post and it is available on this link – Nokta Impact – review of the PRO kit (Review, Photos+) – this post is also detailed. ? Come, read, watch the video.
Detector design
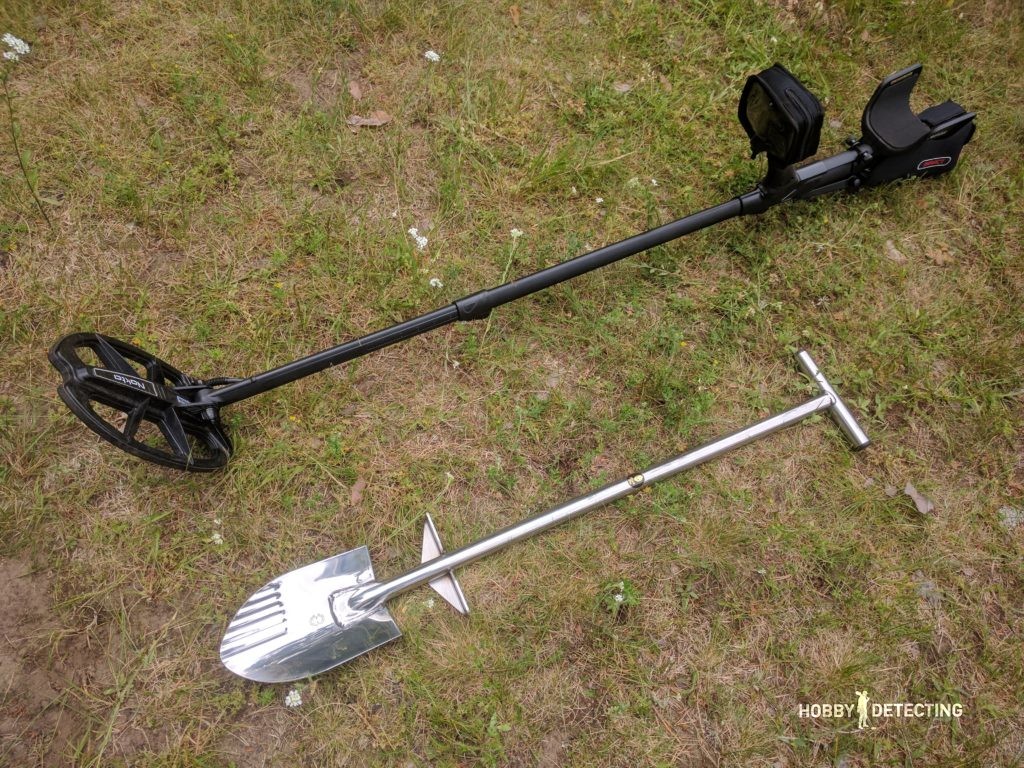
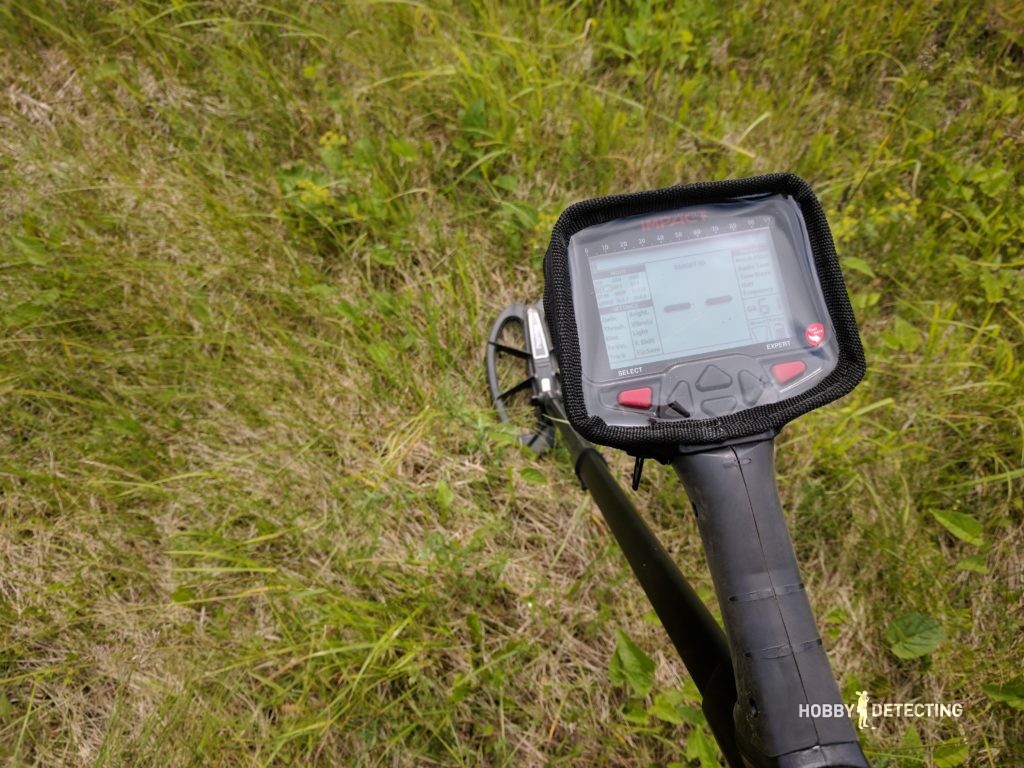
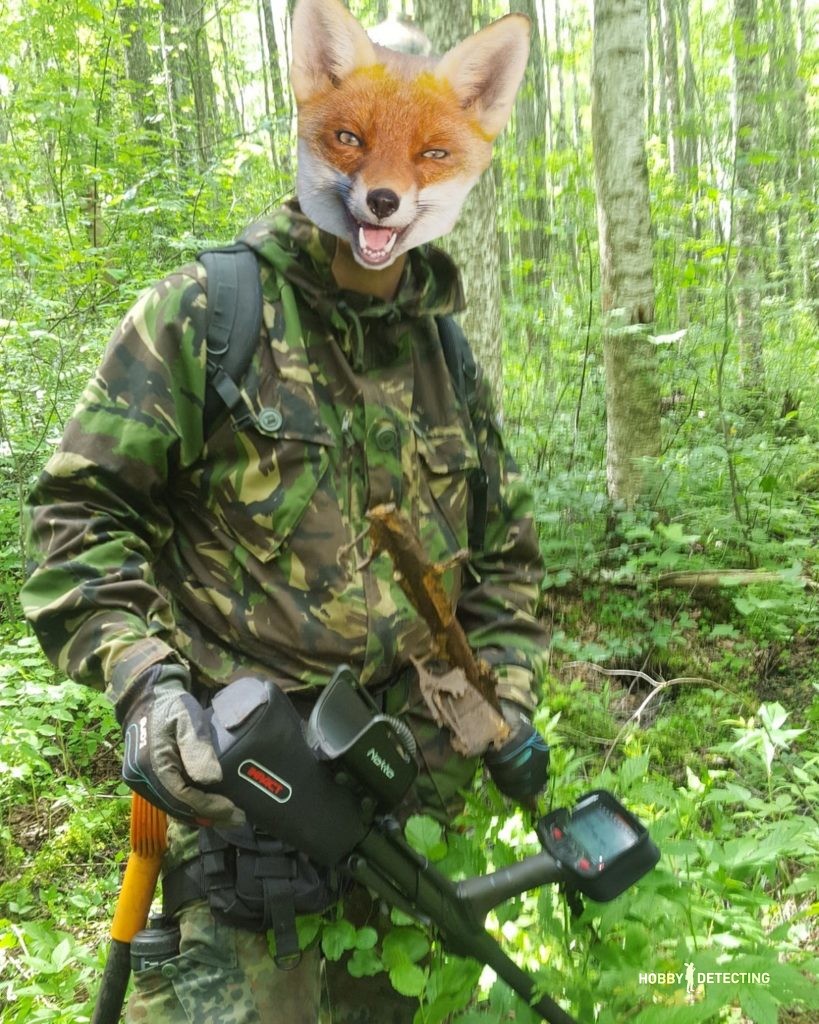
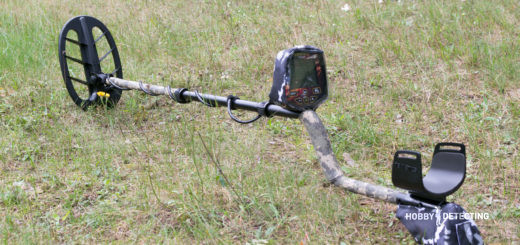
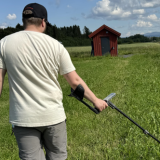
In this case, the engineers of Nokta moved away from the slightly customary way – the Impact was created on an even bar with the detachment of the detector control block on a separate handle and placed the battery compartment under the armrest. This was done, naturally, to improve the balance. The Impact bar has a rod which looks like the one on the CTX3030 from Minelab, but not so compact, this general solution is also found in the professional metal detector Minelab E-Trac. The bar turns out to be light, the wire is hidden inside the rod (this is a big bonus – you do not need to wind and wind wires), but there is a minus in this solution – the compactness decreases, that is, the folding of the detector is not the same as the XP Deus or Golden Mask 5+. But not only in the compactness of the detector can there be found a bonus, in Impact, there is a lot of other, for what it is possible to praise. The length of the detector is 107 cm in the folded form and 143 cm maximum. I’m taller than 194 cm and I was comfortable walking with the Impact, just by adjusting its lower bar to level 5 – yes, there are signs on the bar that you can quickly set the bar length you need. Fast and convenient! I really liked this solution!
As I wrote above – the battery compartment is placed under the armrest. The detector is powered by 4 AA batteries (“finger”), if you remove the batteries, you can see a mini-USB connector for connecting the Impact to the computer, this is necessary to update the firmware. Available firmware for the Impact can be found on the manufacturer’s page – updates for Nokta Impact. In the same place with screenshots, there is a description of how to perform the update. Here, in the area of the battery compartment under the armrest, there is a headphone jack (big jack) and an on / off button of the detector, it also controls the volume. The weight of the detector is 1.8 kg. This is very little if compared with the top detectors from Minelab (more than 2 kg), but the average weight of a metal detector in our hobby is 1.3 kg. the 500-gram difference is already the weight of a single coil! On the other hand, too light a detector has its drawbacks – for example, when walking on high grass or stubble, then with a light detector it is more difficult to make swings, you have to apply effort to swing. With a heavier detector, there are no such problems – you easily make a swing with the detector (coil), the detector already presses the grass and bends the stubble, you get less tired. The Impact, in this case, showed itself very well in a field where there is a lot of stubble – with it I’m less tired than with the XP Deus, for example. It’s harder, of course, with a 15.5 “x14” IM40 coil, but in this case, I’m saved by the new support strap that AKA recently released, which makes metal detectors in Russia. The support thing is useful and significantly facilitates detecting with a metal detector and a large coil (size 13 “+).
Coil selection
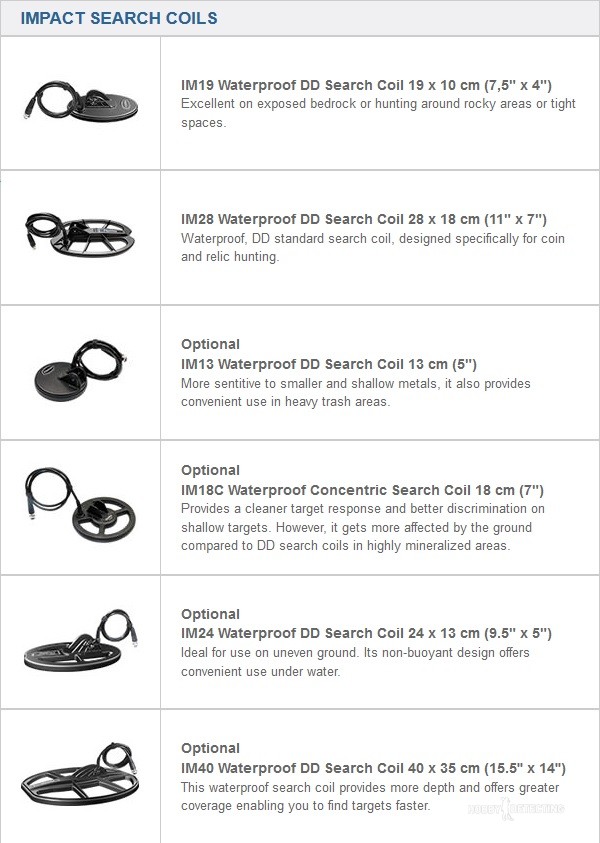
The default kit comes with the standard coil 11 “x7” (28×18 cm – IM28). In the PRO kit, there is an additional sniper-coil measuring 7.5 “x4” (19×10 cm – IM19). In general, such a kit is already enough for any digger, but I was not too lazy and bought another coil, the 15.5 “x14” coil (40x35cm – IM40). The IM40 turned out to be quite a big coil and it is perfect for reconnaissance in large fields, the coil sees objects deeply and perfectly finds medium and large coins from the depth of one and a half Fiskars blades. But the choice of coils for the Impact does not end there. At the moment, Nokta also offers mono coils for the Impact, which is interesting – this is the coil IM18C 7 “(18 cm circle).
Of the interesting, I also see the coil IM24 9.5 “x5” (24×13 cm). This coil is perfect for detecting in the forest, for example, it is long and narrow enough to perfectly pass between trees and bushes, for example, or to pass through the stubble. Such a slightly enlarged format of the standard “sniper”, the idea is very similar to the coil Nel Sharpshooter.
Specifications
Let’s pass a little to the technical component of the detector. The impact works according to the standard scheme and technology – VLF, “very low frequency”. Most of the modern detectors work on the technology of VLF and its small varieties. The multifrequency effect supports operation at three frequencies: 5 kHz – 14 kHz – 20 kHz. This frequency can be changed during detecting and specifically for your task. Multifrequency is not supported, it is possible to work only at one selected frequency. Of course, it’s not a secret for anyone that most detectors do not differ much from each other, naturally, the combination of electronic components gives a certain difference in the circuitry of metal detectors, but if we talk about VLF, a lot now depends on the firmware and logarithms for which the digital processor processes signals from the coil. Some companies cut out some segments consciously to increase the stability of the detector, especially if they are detectors for beginners. They do it so that the detector can work without noise and problems on complex soils, but the side effect of this is manifested – deep signals, gold, especially small and thin rings, earrings, etc. is no longer detected by the detector and so on. When dealing with the Impact, you can safely say that the firmware is unique to this detector, because if the speed with which the processor processes and transmits the signal, the comprehensible voice acting and the “melodiousness” of the detector, indicates precisely the belonging of this detector to the class of serious professional metal detectors. Yes, it gives the metal detector a good depth of target detection, the accuracy of target recognition with VDI indicators and sound identification. For example, it was easy for me to understand that there was a large piece of rusty iron under the coil gave a perfect tone on the VDI. It is interesting that the foil rang a little differently than a small medieval low-grade silver of the XVII-XVI century. this gives the metal detector a good depth of target detection, the accuracy of target recognition with the VDI indicators and sound identification.
Ground balance – the detector has many ground balancing points, which means it can be set to operate on salty sand (there is a special mode for working with complex soils), and for ordinary ploughings and fields. It supports both manual and automatic ground balance. In most cases, the tracking of the ground balance is sufficient, it helps not to lose depth when changing the type of soil, which can often be overlooked passing an ordinary large field along and across, and being in the place where there once was a settlement and the ground has a lot of mixed soil with coal from fires, for example. This always sharply and imperceptibly reduces the depth of the detector. Ground balancing is very easy – the detector has a very convenient trigger – just pull the trigger away from yourself and swing the coil over the ground! No buttons – with the trigger it is really convenient to work!
Modes and settings on the Nokta Impact
The Impact has 12 modes of adjustment, 2 static modes, 2 “all metals” and 8 modes of discrimination. The detector is easy to configure, just open the manual and read a little about the modes, and then there will be enough time to try them out and choose the ones that suit you and your search style.
The fact is that in the Impact, all the modes are pre-installed and the user can change only some parameters that affect the already stable operation of the detector – ground balance, frequency, frequency shift, sensitivity, iron volume, discrimination level and so on. This is a suitable and good solution because most diggers do not want to clog their heads with superfluous settings, trying to create an optimal balance for the detecting. The problem is that in the professional detectors, where the ability to change the settings is completely open to the user (for example – XP Deus or AKA Signum), the studying f such detectors takes a very long time, and more than half of users do not even think to study the detector, because it’s easier to ask your friends about the settings or download settings on the Internet (found on Youtube) and go detecting with them, changing one or two settings for you. In the Impact, it’s much easier. Yes, you can say that when you figured out your metal detector and you can easily set all the settings for your specific needs, then the probability of not missing a good find is higher than if you use pre-set settings, but in fact our hobby, detecting, is just a combination of luck and a good place! Of the modes that can be used, I would recommend this one for 90% of the time:
- DI2 – two-tone discrimination. The main mode if you dig on a large field, where there are few signals and you need to find a place of concentration of finds. Ideal for exploration, because it gives a low tone for iron objects and higher tone for items made of non-ferrous metals. In this mode, it is best to reconnoiter at a frequency of 14 kHz.
- The modes DI3, DI4 and DI99 – these are already modes with three tones and higher (DI99 – polyphony), which are good for use in places where there are a lot of objects from non-ferrous metals and you need to allocate good targets among them, for example – nickel, copper and silver coins. In this case, you can work by ear and pick up excellent finds, for example, in a park, near a village, in a trashy place and so on. In these modes, it is ideal to operate at a frequency of 20 kHz or 14 kHz, depending on how heavily the ground is contaminated with fine metal.
- COG mode (high conductivity grounds) – this is a good mode for working on the difficult ground, for example, on the beach. It is necessary to understand that gold is a complex metal for searching and if you are hunting gold ornaments, you should be prepared to reduce discrimination (by default in COG mode it is 15) and listen to all the noises. This mode will be noisier than the others, which means you have to be prepared for the fact that fatigue from working with the detector will come faster. But remember: on dry sand, you can use the mode DI3 or DI4, and COG should be used only in the surf zone and near the water. On the beach, it is useful to operate at a frequency of 20 kHz to have a greater sensitivity to small metal objects.
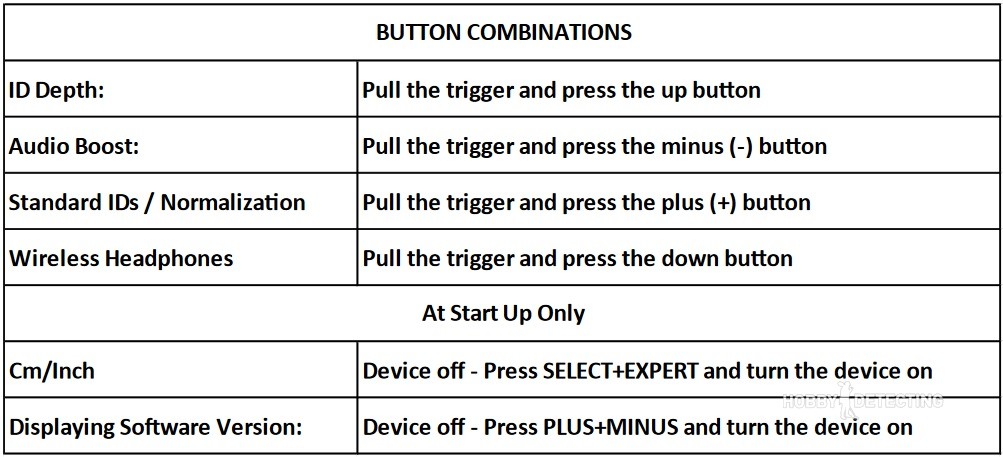
- GEN mode (general search) – this is a good mode for detecting on a promising place. It works with the automatic threshold tone (iSAT) function and has a hidden setting – “Sound Enhancement”! As well as in other professional metal detectors, this setting helps to increase the sound for weak signals, small objects or deeply buried ones. In general, in this mode, you can walk around your “empty” places and pick up even more finds! To turn on “Sound Enhancement” simply when you’re in Gen mode, just pull the trigger and press the minus button at the same time. The amplification of sound has five levels, the default level is 1, that is, the weakest one. In this mode, it is best to operate at low frequencies, for example, at 14 kHz or 5 kHz, to get deep targets.
There are other modes of the Impact, but I rarely use them. For example, the Deep mode, in my tests, gave an increase in + 7 cm on a little silver coin, or STA mode (static), which is good to look for large and deeply buried objects.
I recommend to put the sensitivity on the limiting value, it means on balance between the quiet work of the metal detector and the background sounds. Similarly, with the threshold tone setting, where it is applicable. In fact, the presence of a number of settings and modes in the metal detector Nokta Impact allows us to cover most of our search tasks – the detector is detecting well both in the field and in the forest, and on the beach and in the surf zone and it does not give off false signals from wet sand on the shore of the salt sea. The detector also has hidden settings, which are written only in the instructions. I recommend that you study it, but just in case, I’ll add the hidden settings of the Impact:
Digging coins in the Fields with the Impact
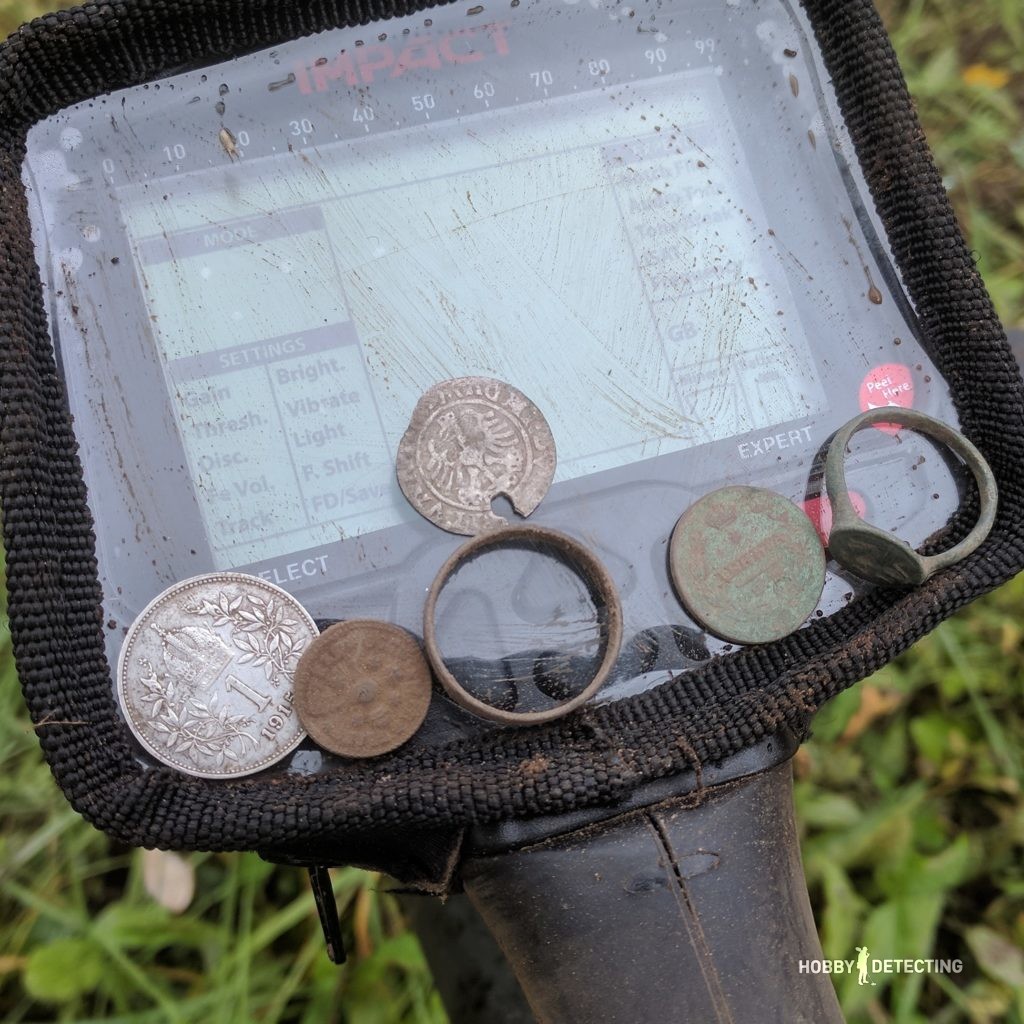
The main purpose of this metal detector is digging of coins and relics and according to my results, this detector copes with this task perfectly in any place – in the field, the forest, the beach and the park.
The presence of wireless headphones allows you to dig the weakest signals and better to hear the sound feedback from targets. Coins will sound from any depth, and the Impact in this plan is at the same level by the search characteristics with such metal detectors as XP Deus, Minelab E-Trac and CTX3030, Fisher F75 and Teknetics T2. The detector is noisy, yes, but this is what distinguishes a professional metal detector from a detector for beginners – cutting segments to reduce noise leads to a lack of response and the omission of some type of finds by a metal detector. In this regard, all the metal detectors given above in this paragraph are rather talkative, except for the Minelab.
For example, I walked on a field with high stubble and with this detector, and I wrote a post about it, in one day I found quite a lot of interesting finds, in just three hours of detecting. Or the depth test on small silver coins, wherein the DI2 mode, the Impact easily saw the coins at a depth of 15 cm, and at a frequency of 5 kHz, it saw them all the way down to 18 cm!
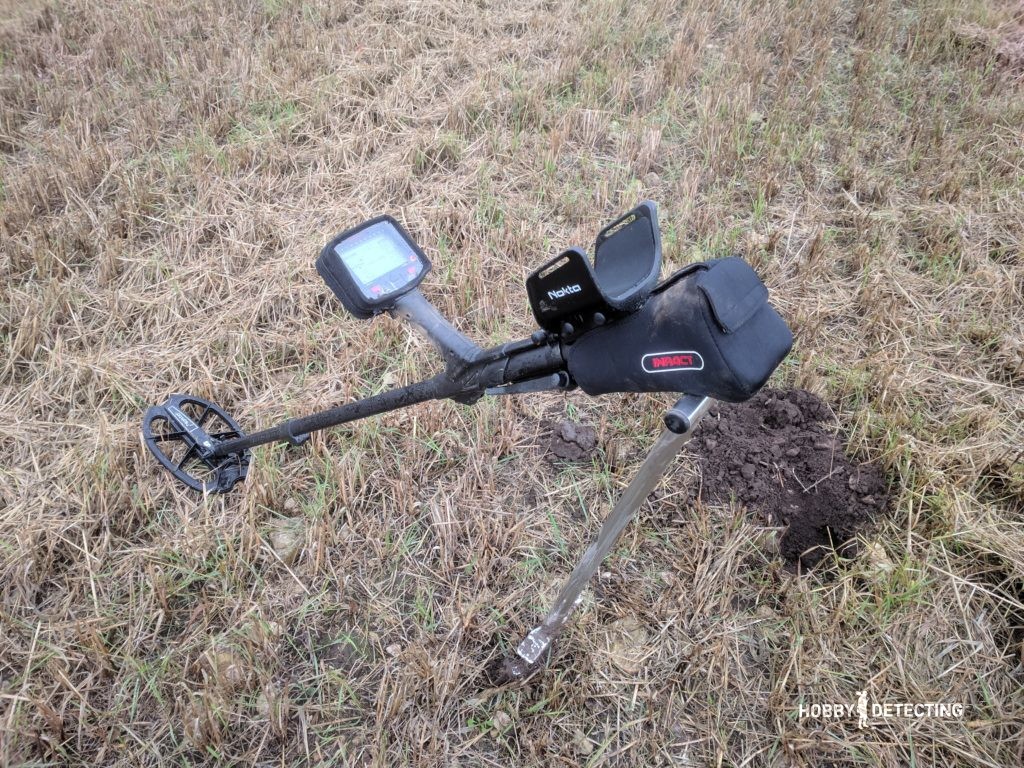
And as I wrote above in the topic about the modes, the Impact for coins is better off with the modes DI2, Di3 / 4, DI99 or GEN, depending on how littered your place is. Speaking of garbage – the Impact perfectly allows you to effectively sort through garbage with the sniper coil. So, the grand total – for coins and relics the Impact is a good choice, if you want to get an effective metal detector for a very reasonable budget, you will still have enough for a pinpointer with a shovel!
Digging WW2 with the Impact
With the Impact, you can also dig war relics. I managed to visit some places of battle to conduct a simple reconnaissance, to see if there were intense fights on the point or not, and to look for the positions of the soldiers of the Red Army and the Wehrmacht, hoping for some nice buckle or a medal. Impact coped well with this task. I used GEN mode with a low frequency of 5 kHz.
It was an interesting dig – the detector found many different metals. Grenades and other pieces of iron were found at a good depth. When digging WW2, many people go over the top and pick up any rusty metal, others run through the forest and find places of battle, while others look for positions where the soldiers lived and rested, their garbage dumps (to look for different personal things). The Impact, in this case, is suitable for most types of detecting. Again, I warn you – it is better not to touch various explosive and incomprehensible objects, your health is always more important than your own curiosity!
Digging on the beach with the Impact
I managed to go out to the beach only once during the summer, so I cannot show many photos with the finds. I think that I will soon detect once more after the storm when the water moves away from the shore, then it will be possible to find something! But when I walked on dry land, the detector worked perfectly.
Summary of the Nokta Impact
As a professional metal detector, the Nokta Impact is not surprising. It has everything that should be in a professional metal detector. After six months of my experience with this metal detector, I can unambiguously say that it is worth its money and if you have a choice to take it or not, then definitely take it! You do not achieve anything when just waiting for miracles, you dig it yourself, and a metal detector is only a tool, but a serious tool will bring even more serious finds. I liked the Impact. It is reliable – I did not have any breakdowns or problems with it, the detector always worked as it should and searched and found it perfect.
From competitors and alternatives to Impact, I would now highlight XP Deus, Minelab CTX3030 / E-Trac, Fisher F75 and Teknetics T2. In some cases, the Impact stands on a par with these detectors, and in other aspects, it also surpasses them (for ease of adjustment, the presence of 3 frequencies, for example, iSAT, and so on). I hope that my great review has not exhausted you yet? If there are any questions or there is something to add, then write in the comments, it will always with pleasure to discuss.




thank you so much! this info should be in the brochure!
Ah, hope one day it will be there!
Nice review I have the impact at first I thought I’m not gonna get on with this then one day it just happened had many good finds great machine.
Wow, cool! You can add photos of your finds in comments.
Just purchased a Nokta Impact, found everything the user manual states, except how do you turn on the flashlight.
Hi Joe, that’s very easy – you have a setting “Light” in a basic settings, so just change that setting from 0 to 1 and it will work.
Hope it will help!